Create a Course
Courses on Uare.ai let you package your expertise into structured, lesson-by-lesson learning experiences your audience can work through at their own pace. Whether you are teaching a skill, onboarding clients, or building a premium learning product, this guide walks you through creating one.
Get Started
If you built a course on another learning platform, you can import it instead of rebuilding it.
Export your course as a Common Cartridge file (the standard format most platforms offer).
Upload it. Your pages become lessons, and your quizzes, images and videos come across with it.
PDF worksheets come in as lesson materials the course AI can read. Fill-in-the-blank questions from Canvas imports are kept.
To build a new course, open a chat with me and toggle to create. Select the Course button in your chat bar. Your AI will suggest ideas grounded in your expertise, then guide you through the setup.
Create a Course
Your AI will begin creating the course.
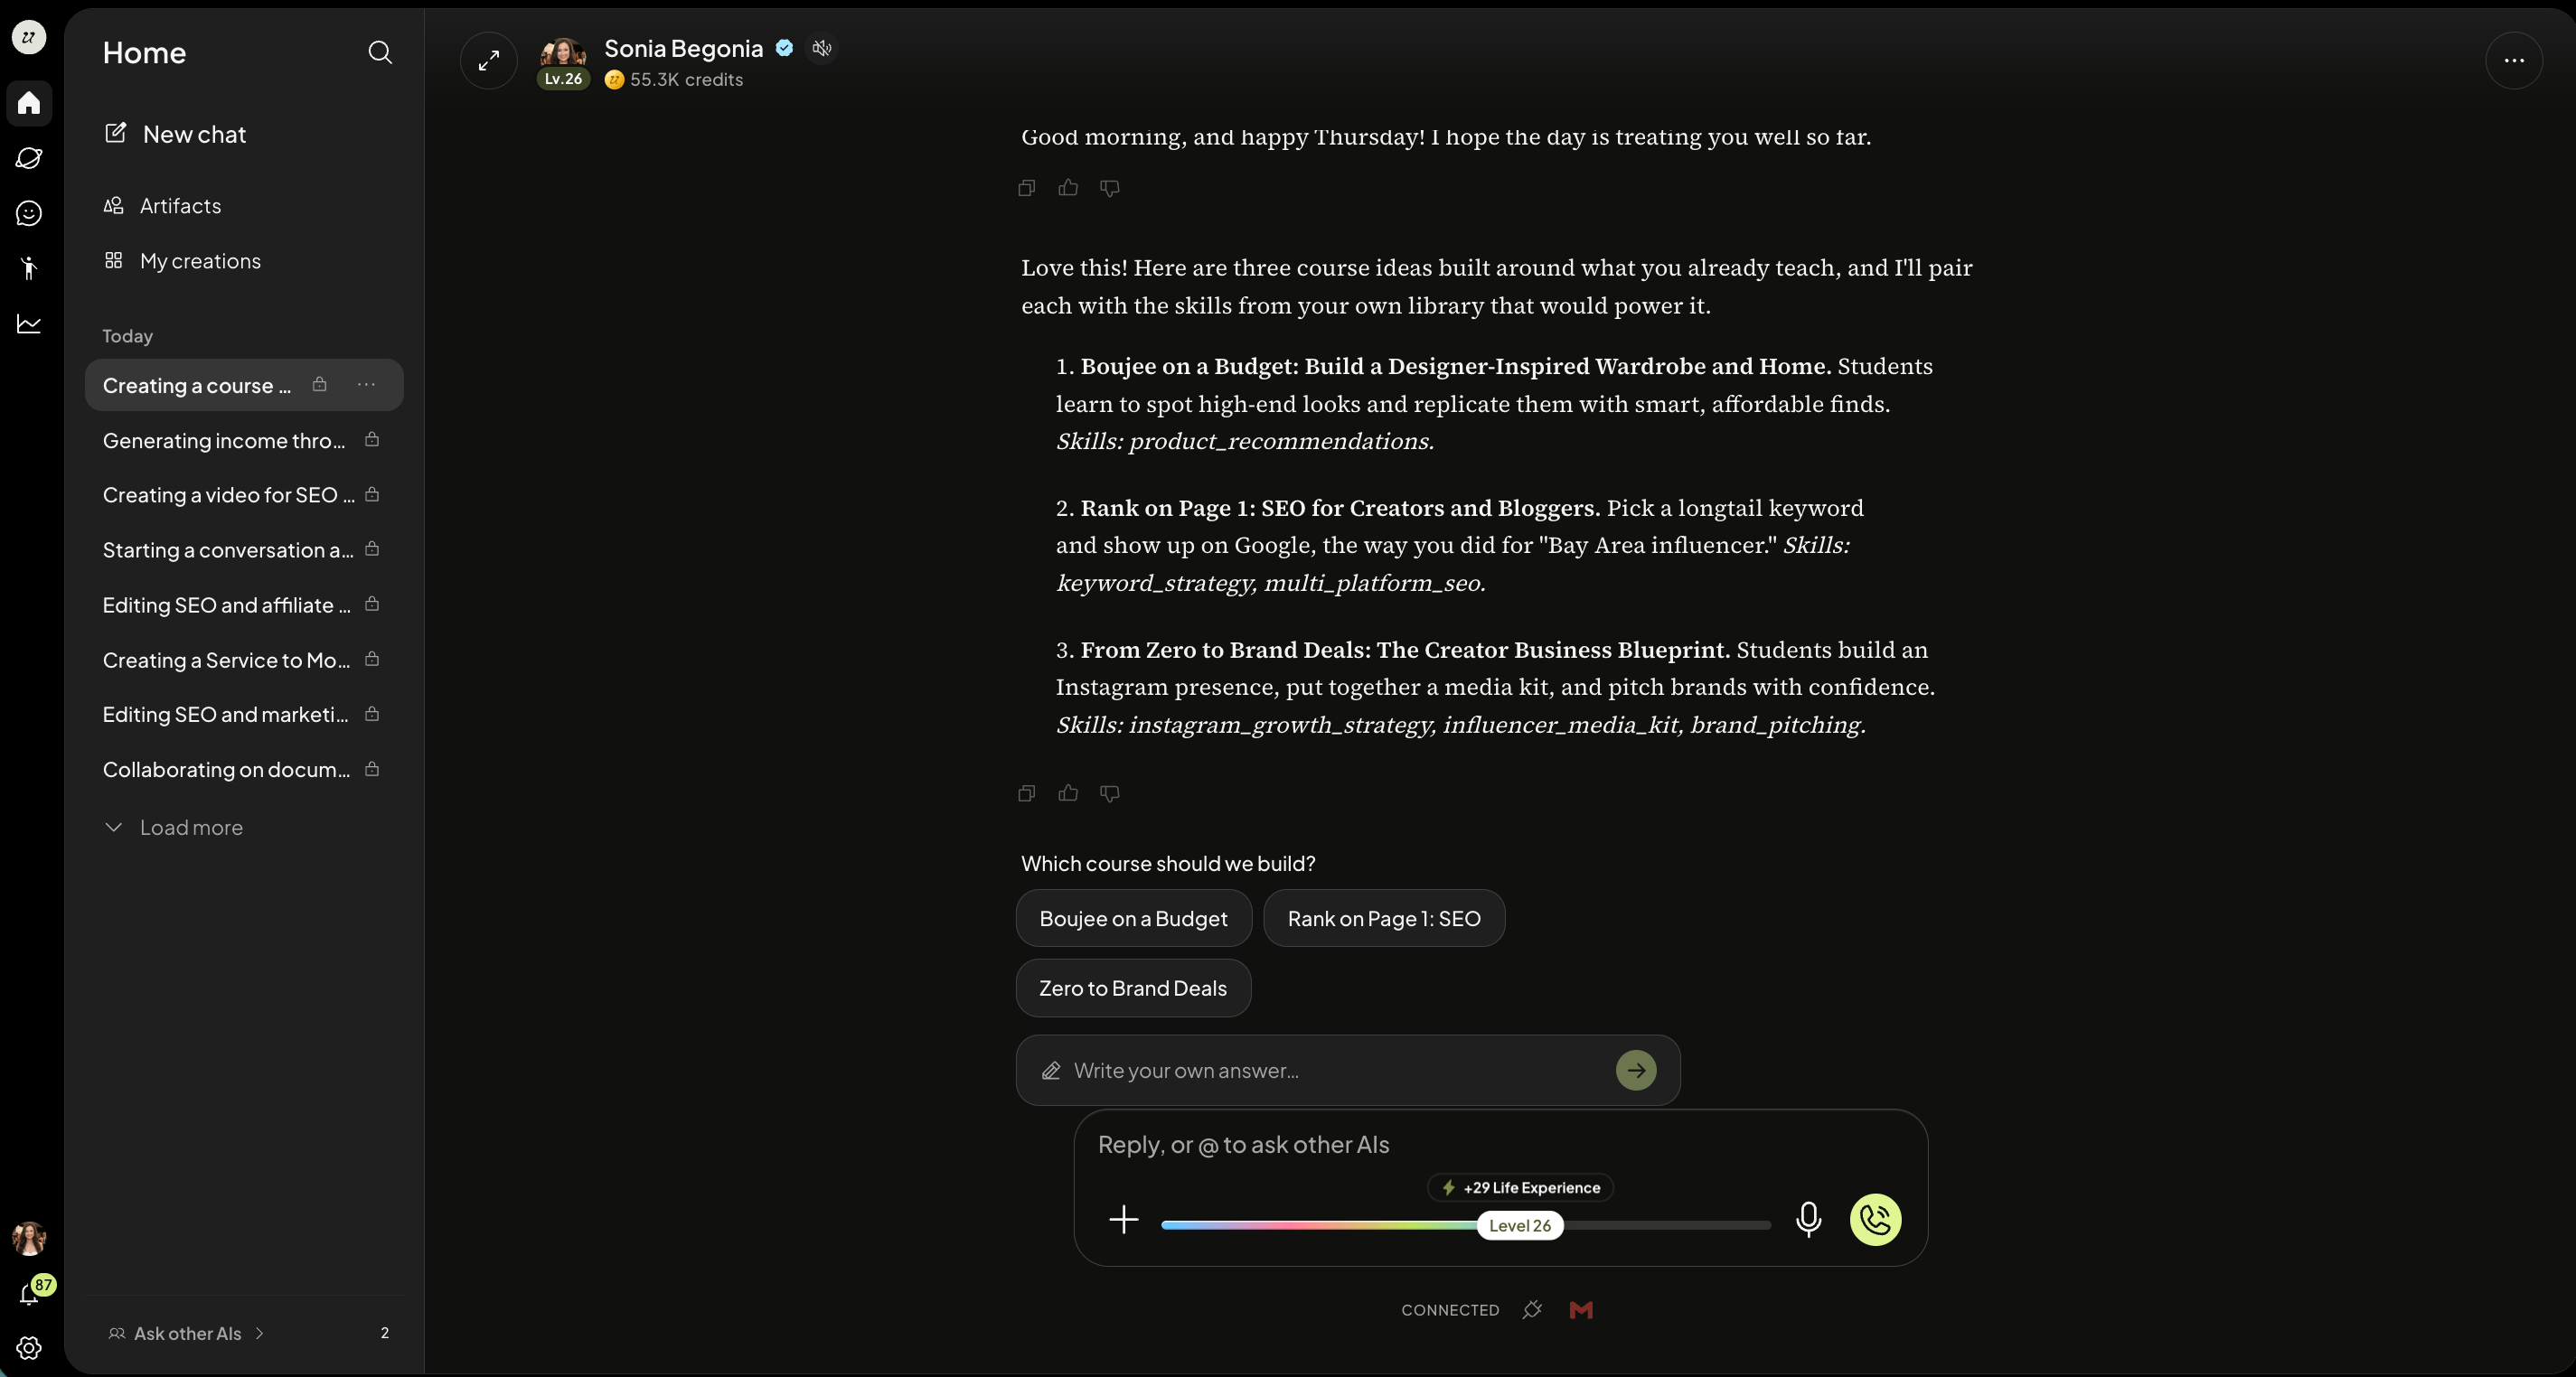
You will confirm your course title, which skills power the course, how many lessons to include, and your pricing model.
A split screen will appear with the Lessons, content, and chat window.
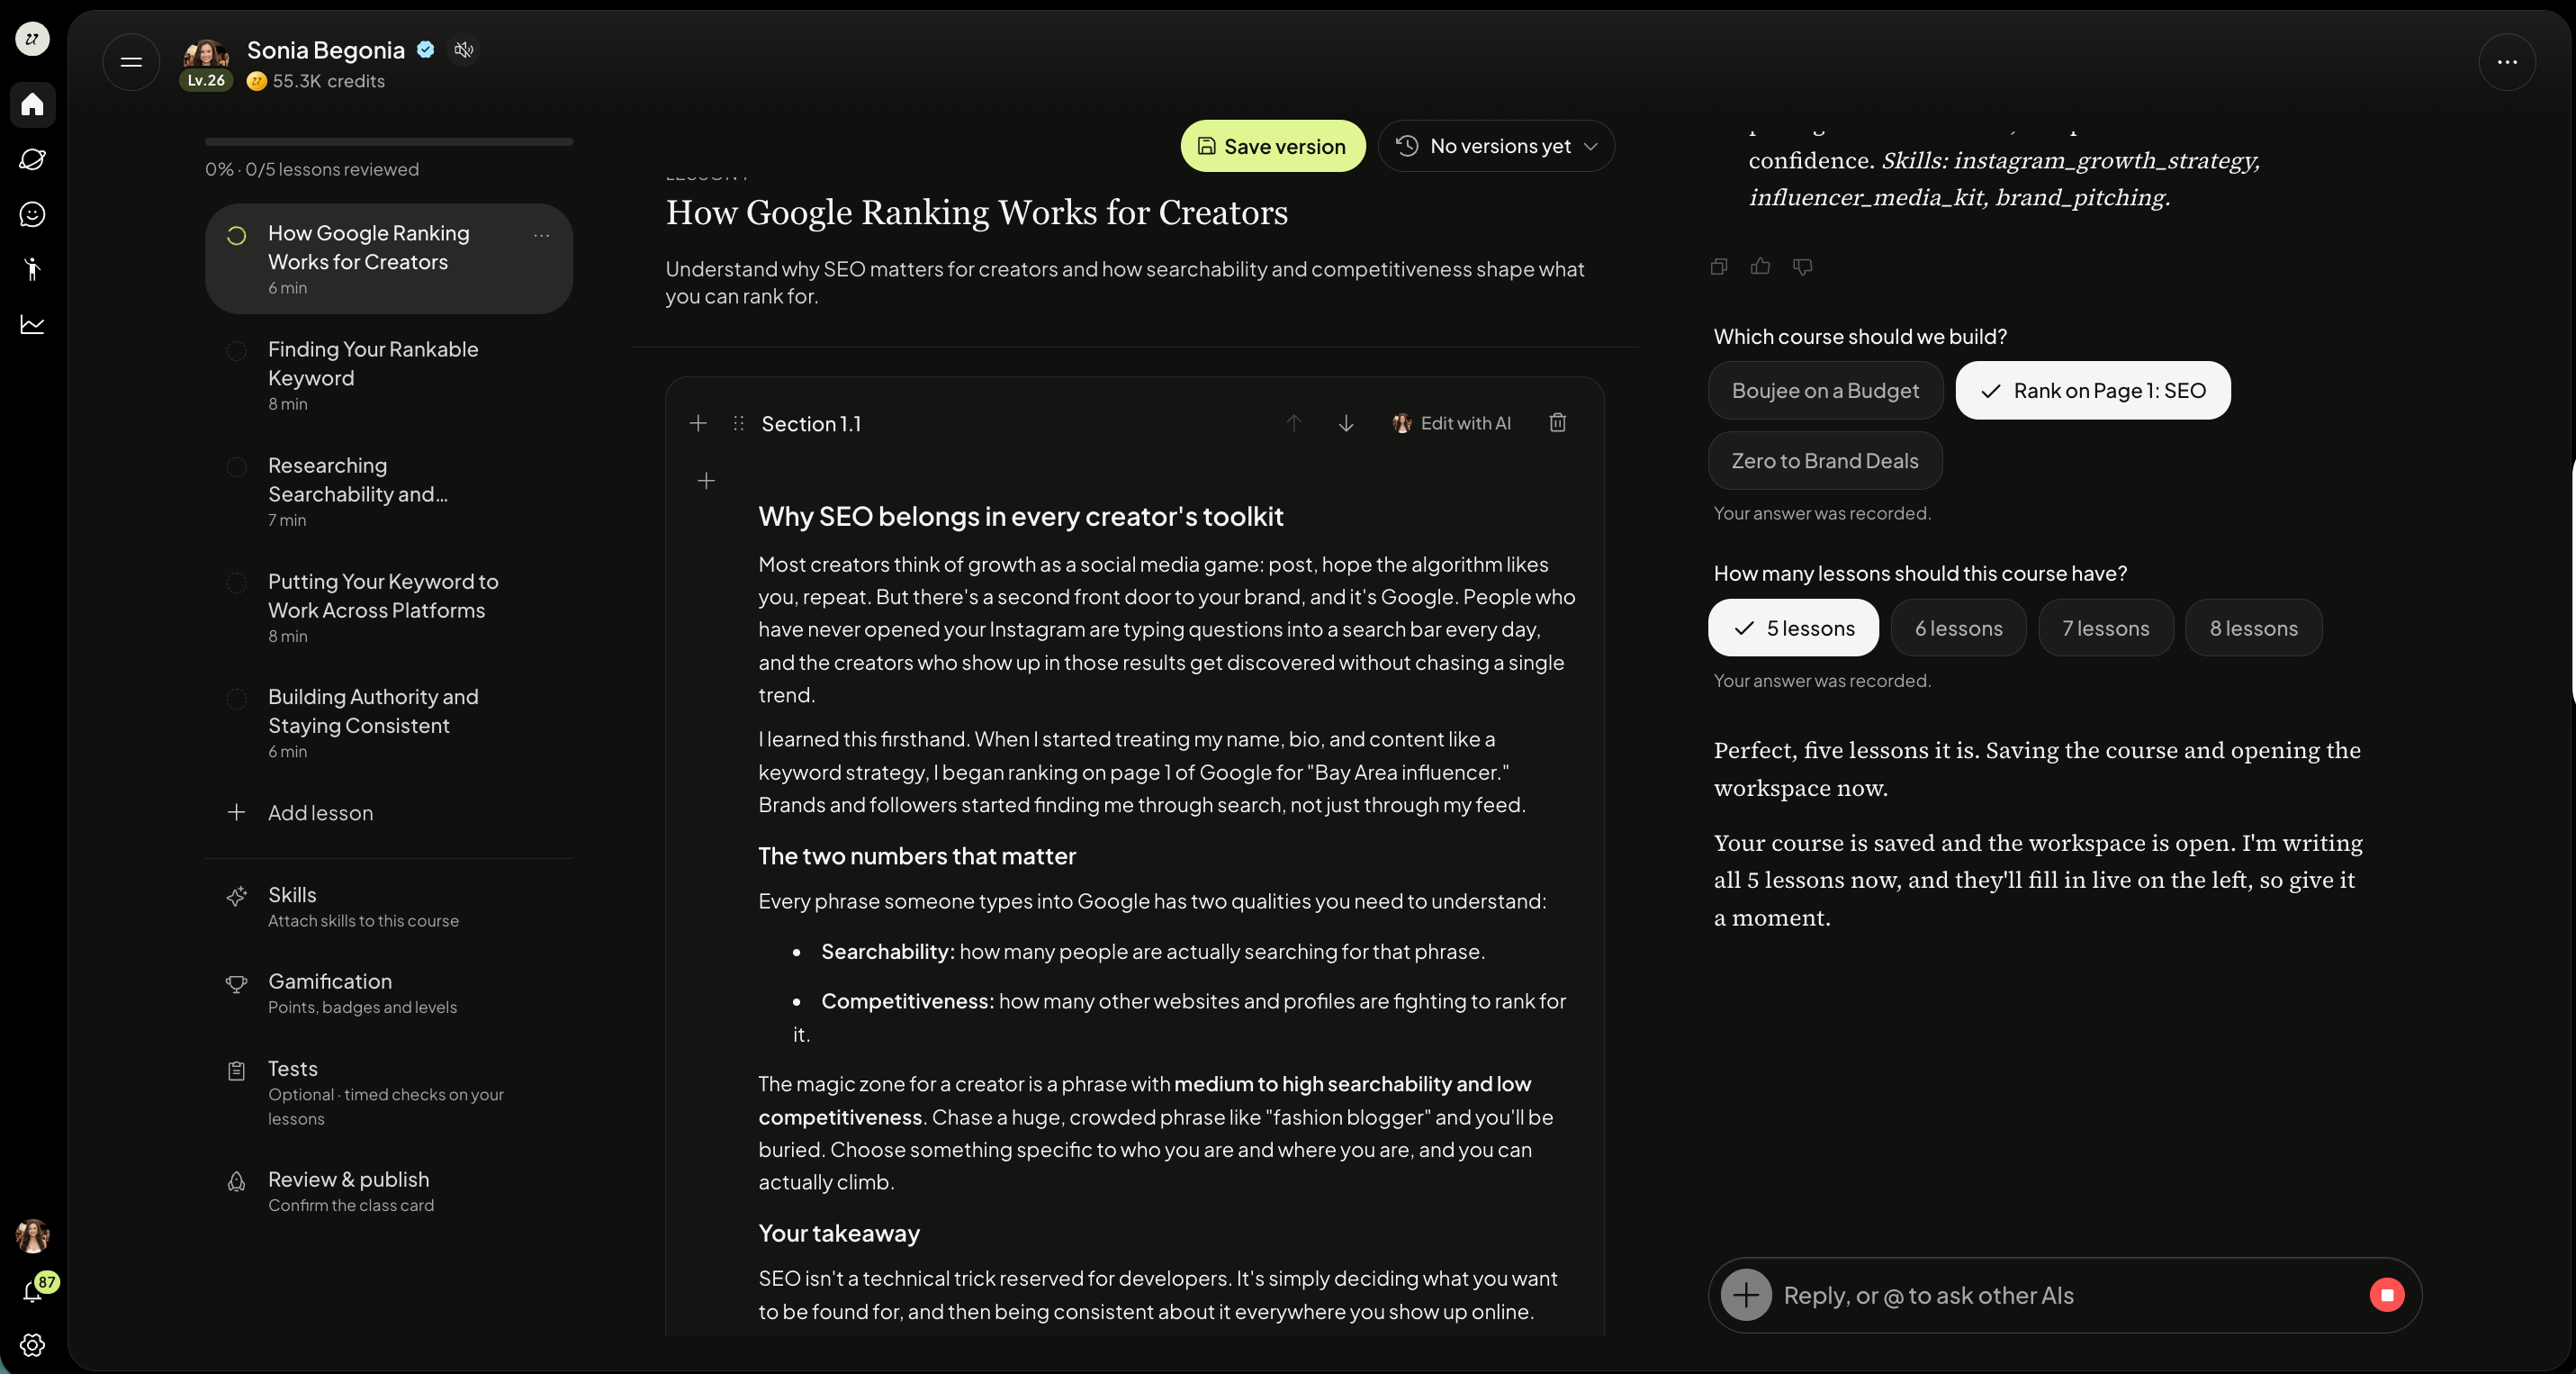
Once those are confirmed, your AI creates the course and opens the workspace with a lesson skeleton automatically. The draft is saved immediately.
Your AI then authors each lesson in order, one at a time. Each lesson can include text sections, image sections, video sections, and quiz sections.
For the cover photo, your AI will ask you to upload an image or create one on platform.
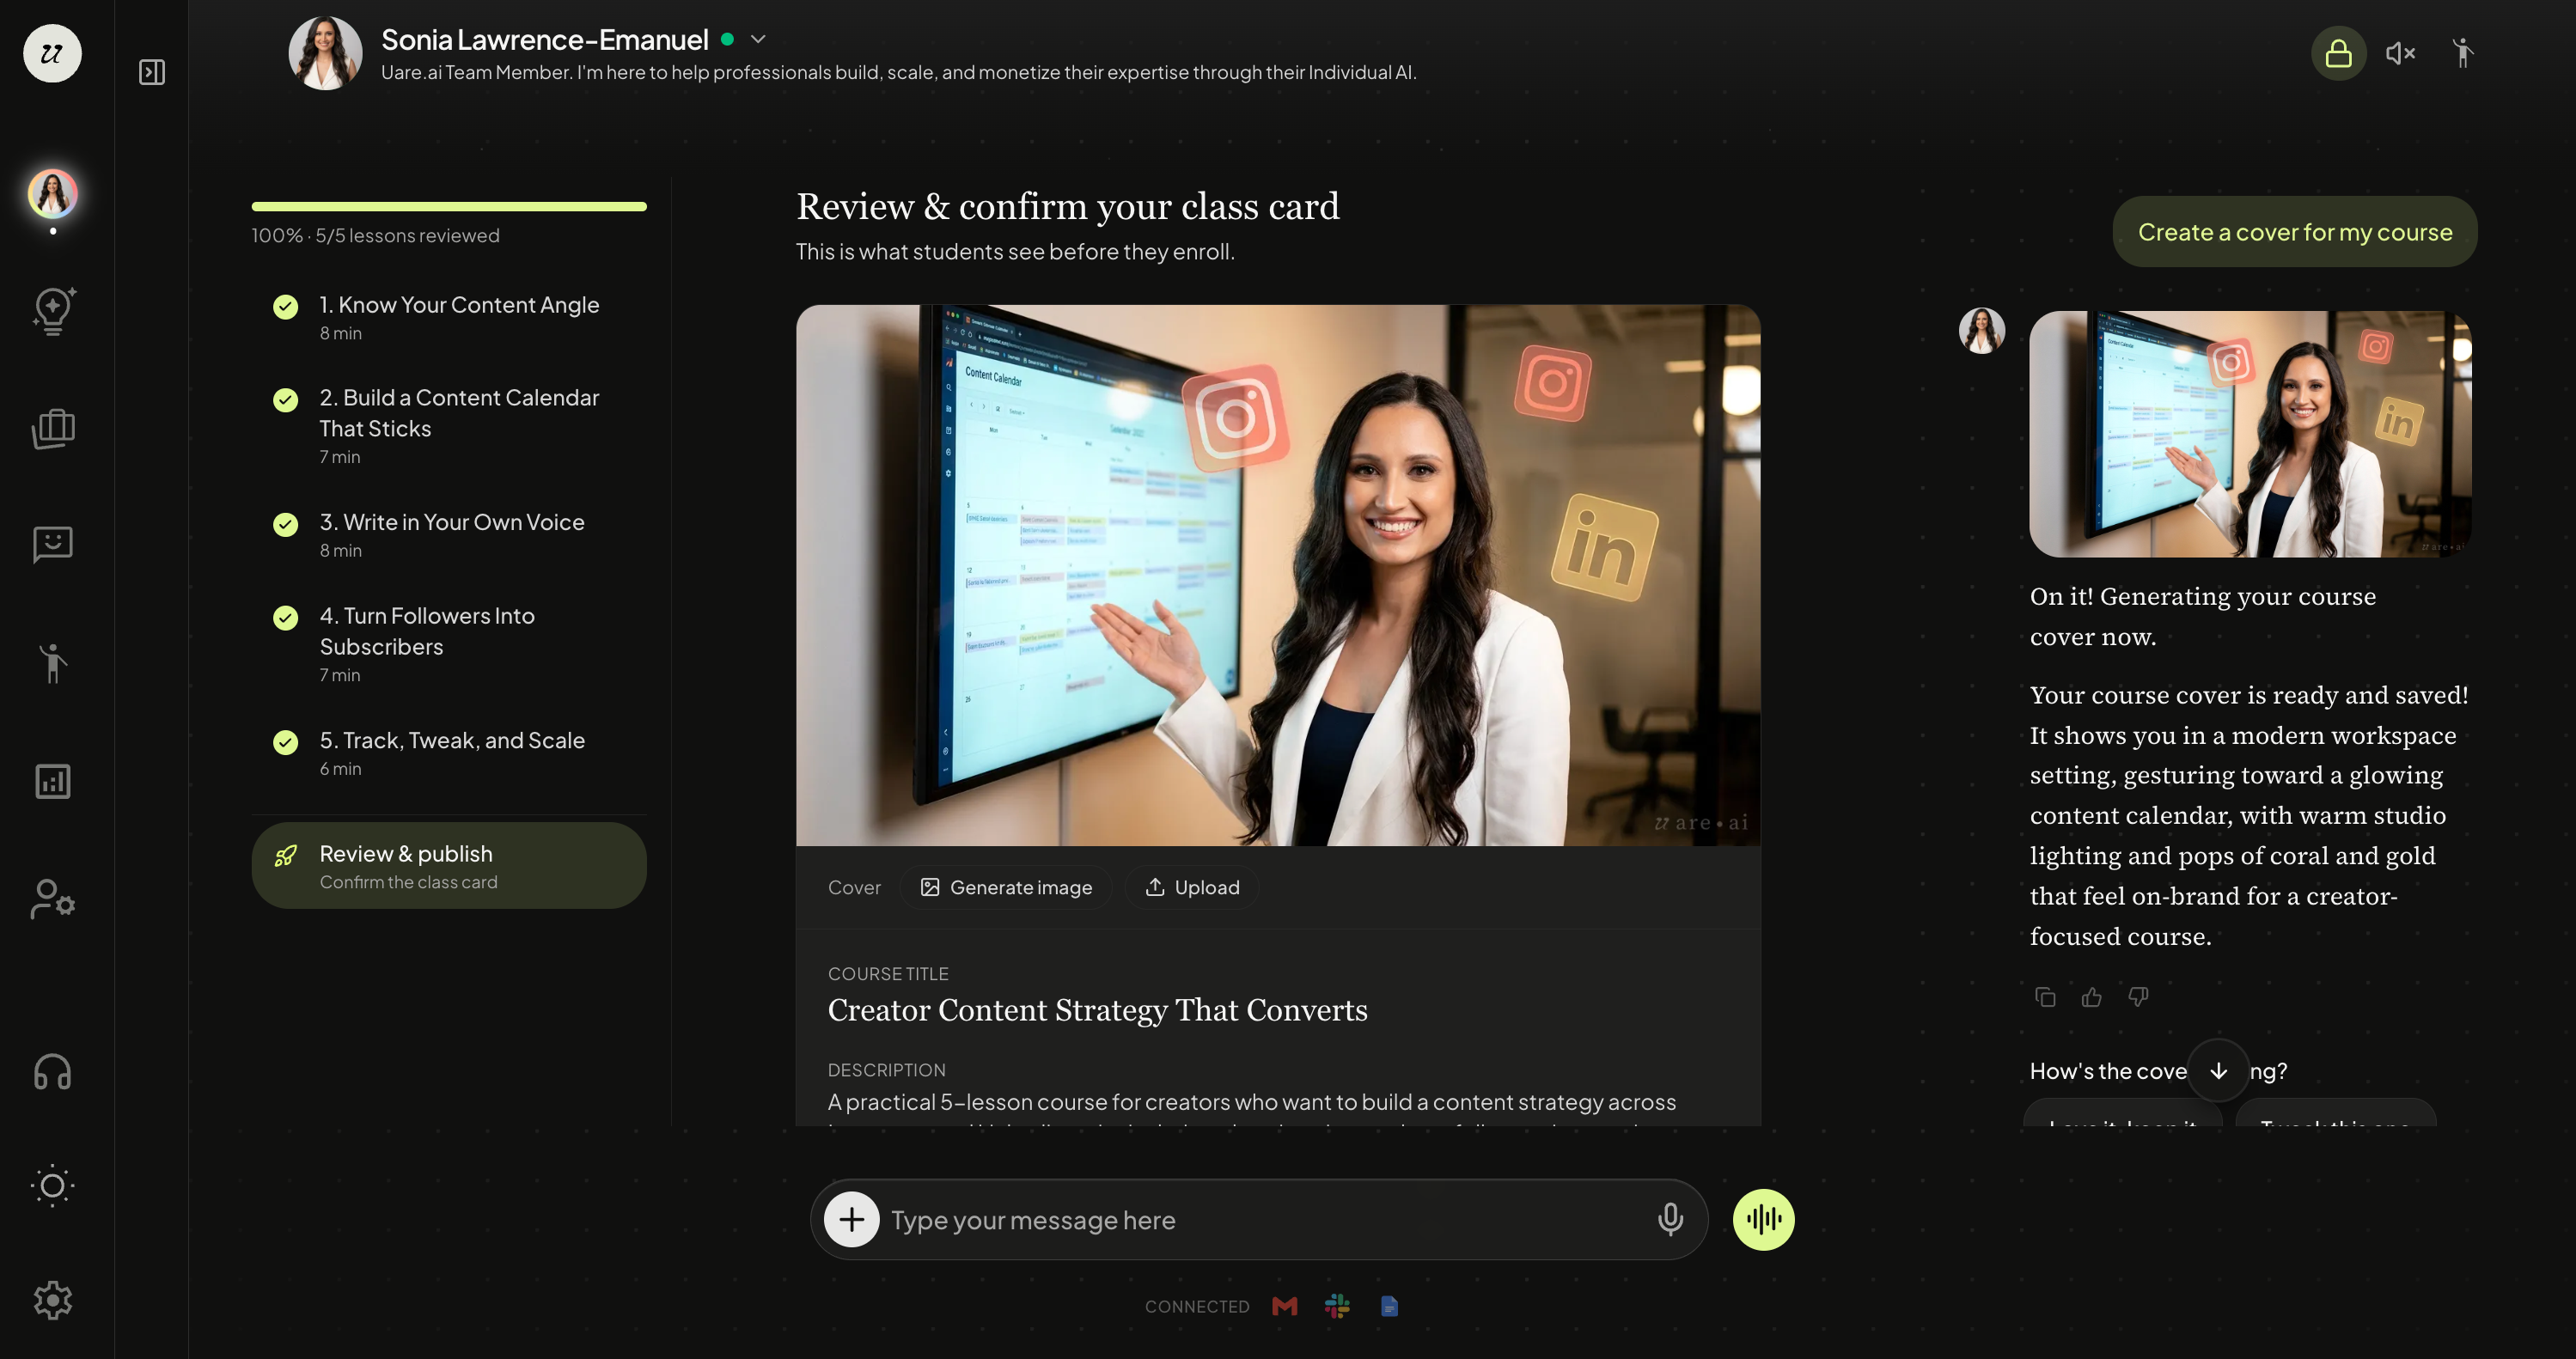
Once you are ready, select Review and Confirm Lesson. It will walk you through approving each lesson.
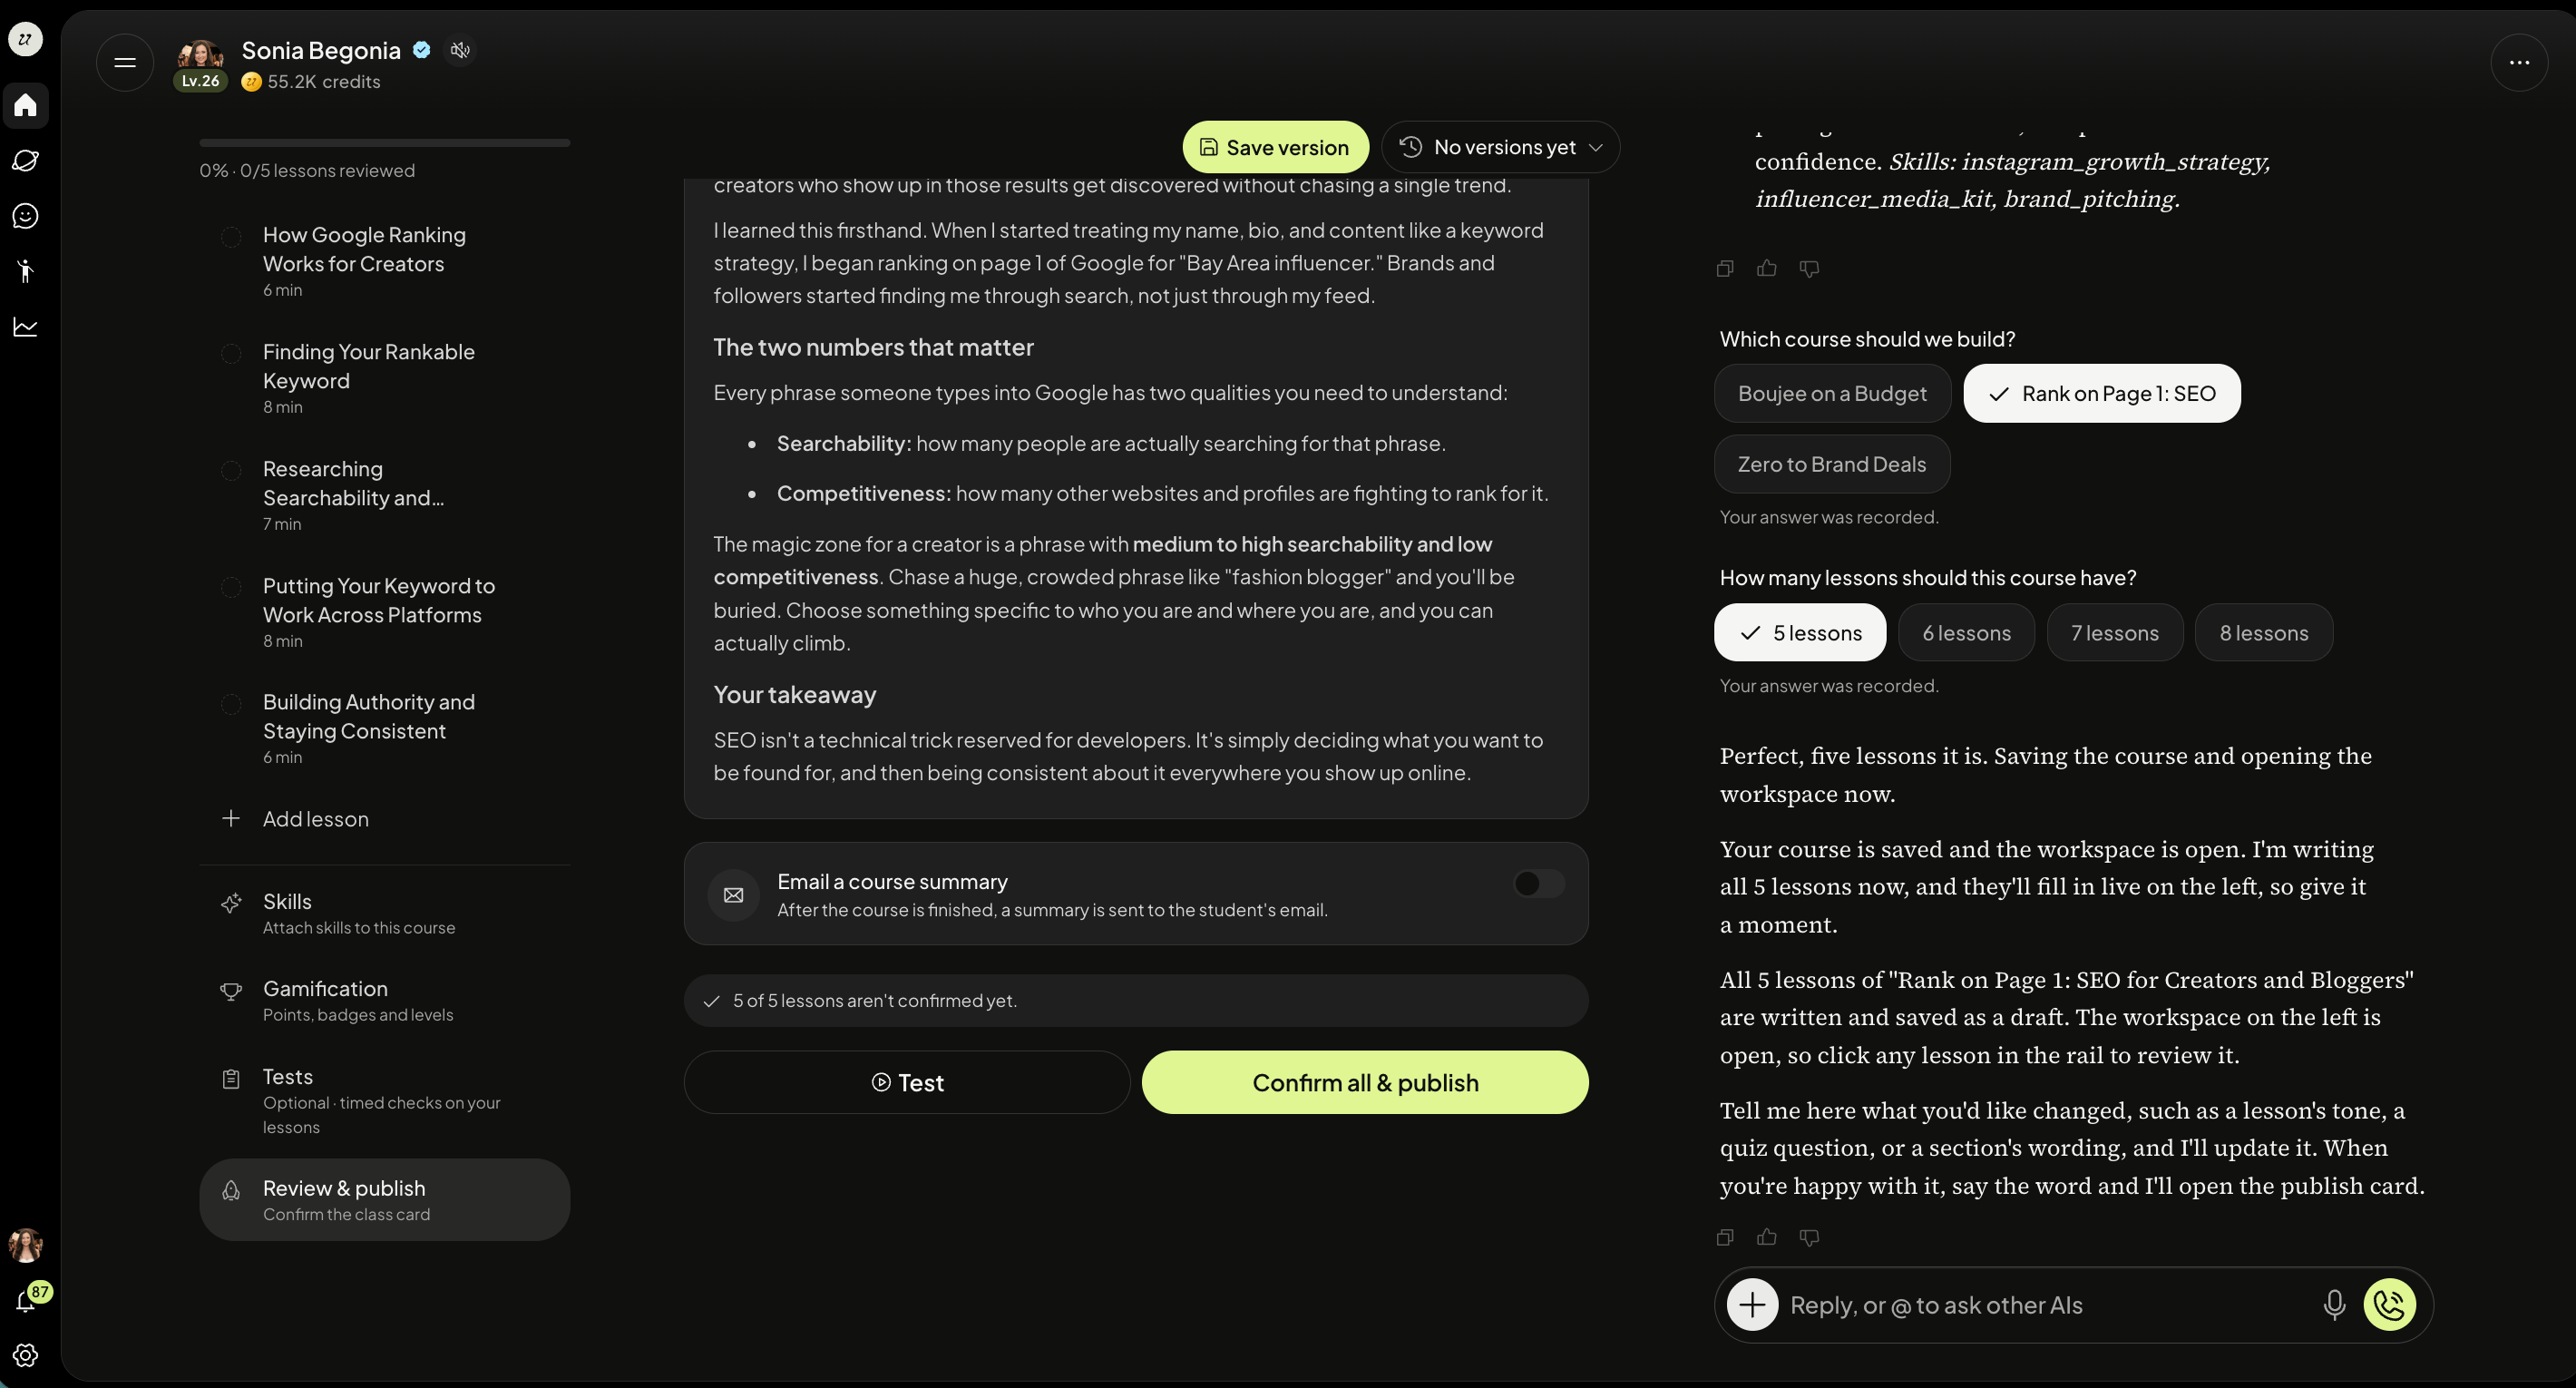
Your AI writes everything in your tone and expertise, so the course sounds like you. You can review each lesson as it populates and request edits at any time.
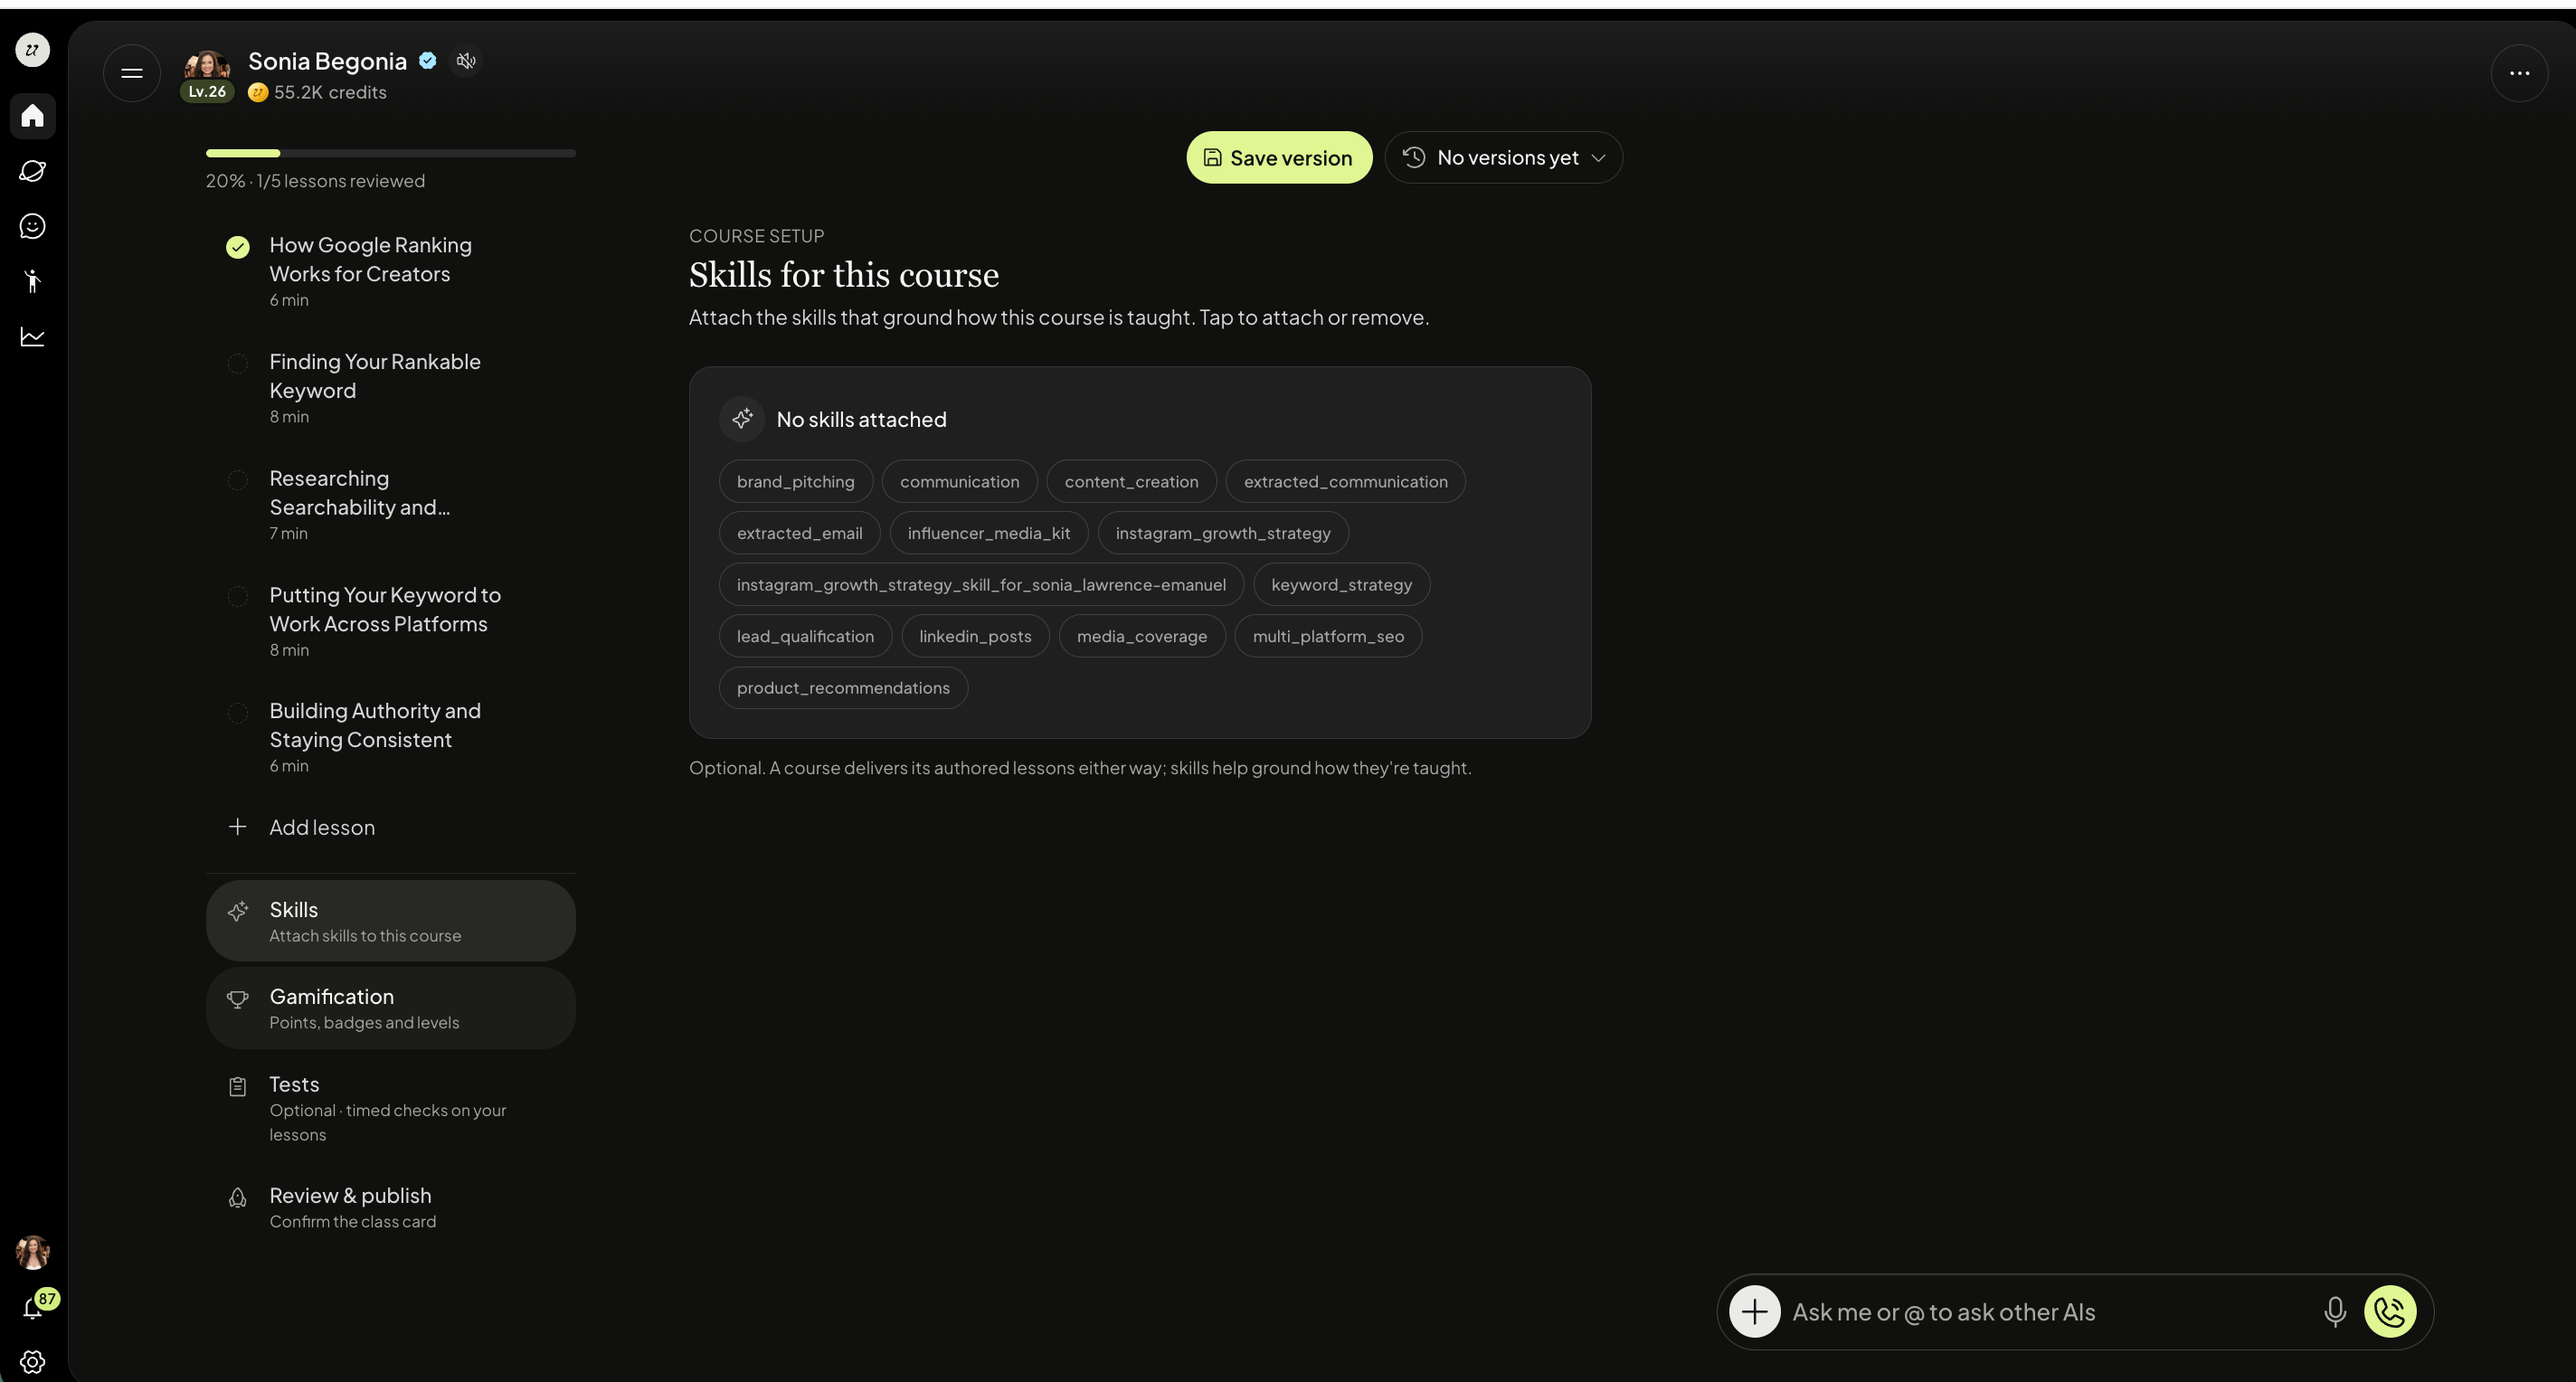
Add Skills
Add Skills to your Course. Your AI can create them for you.
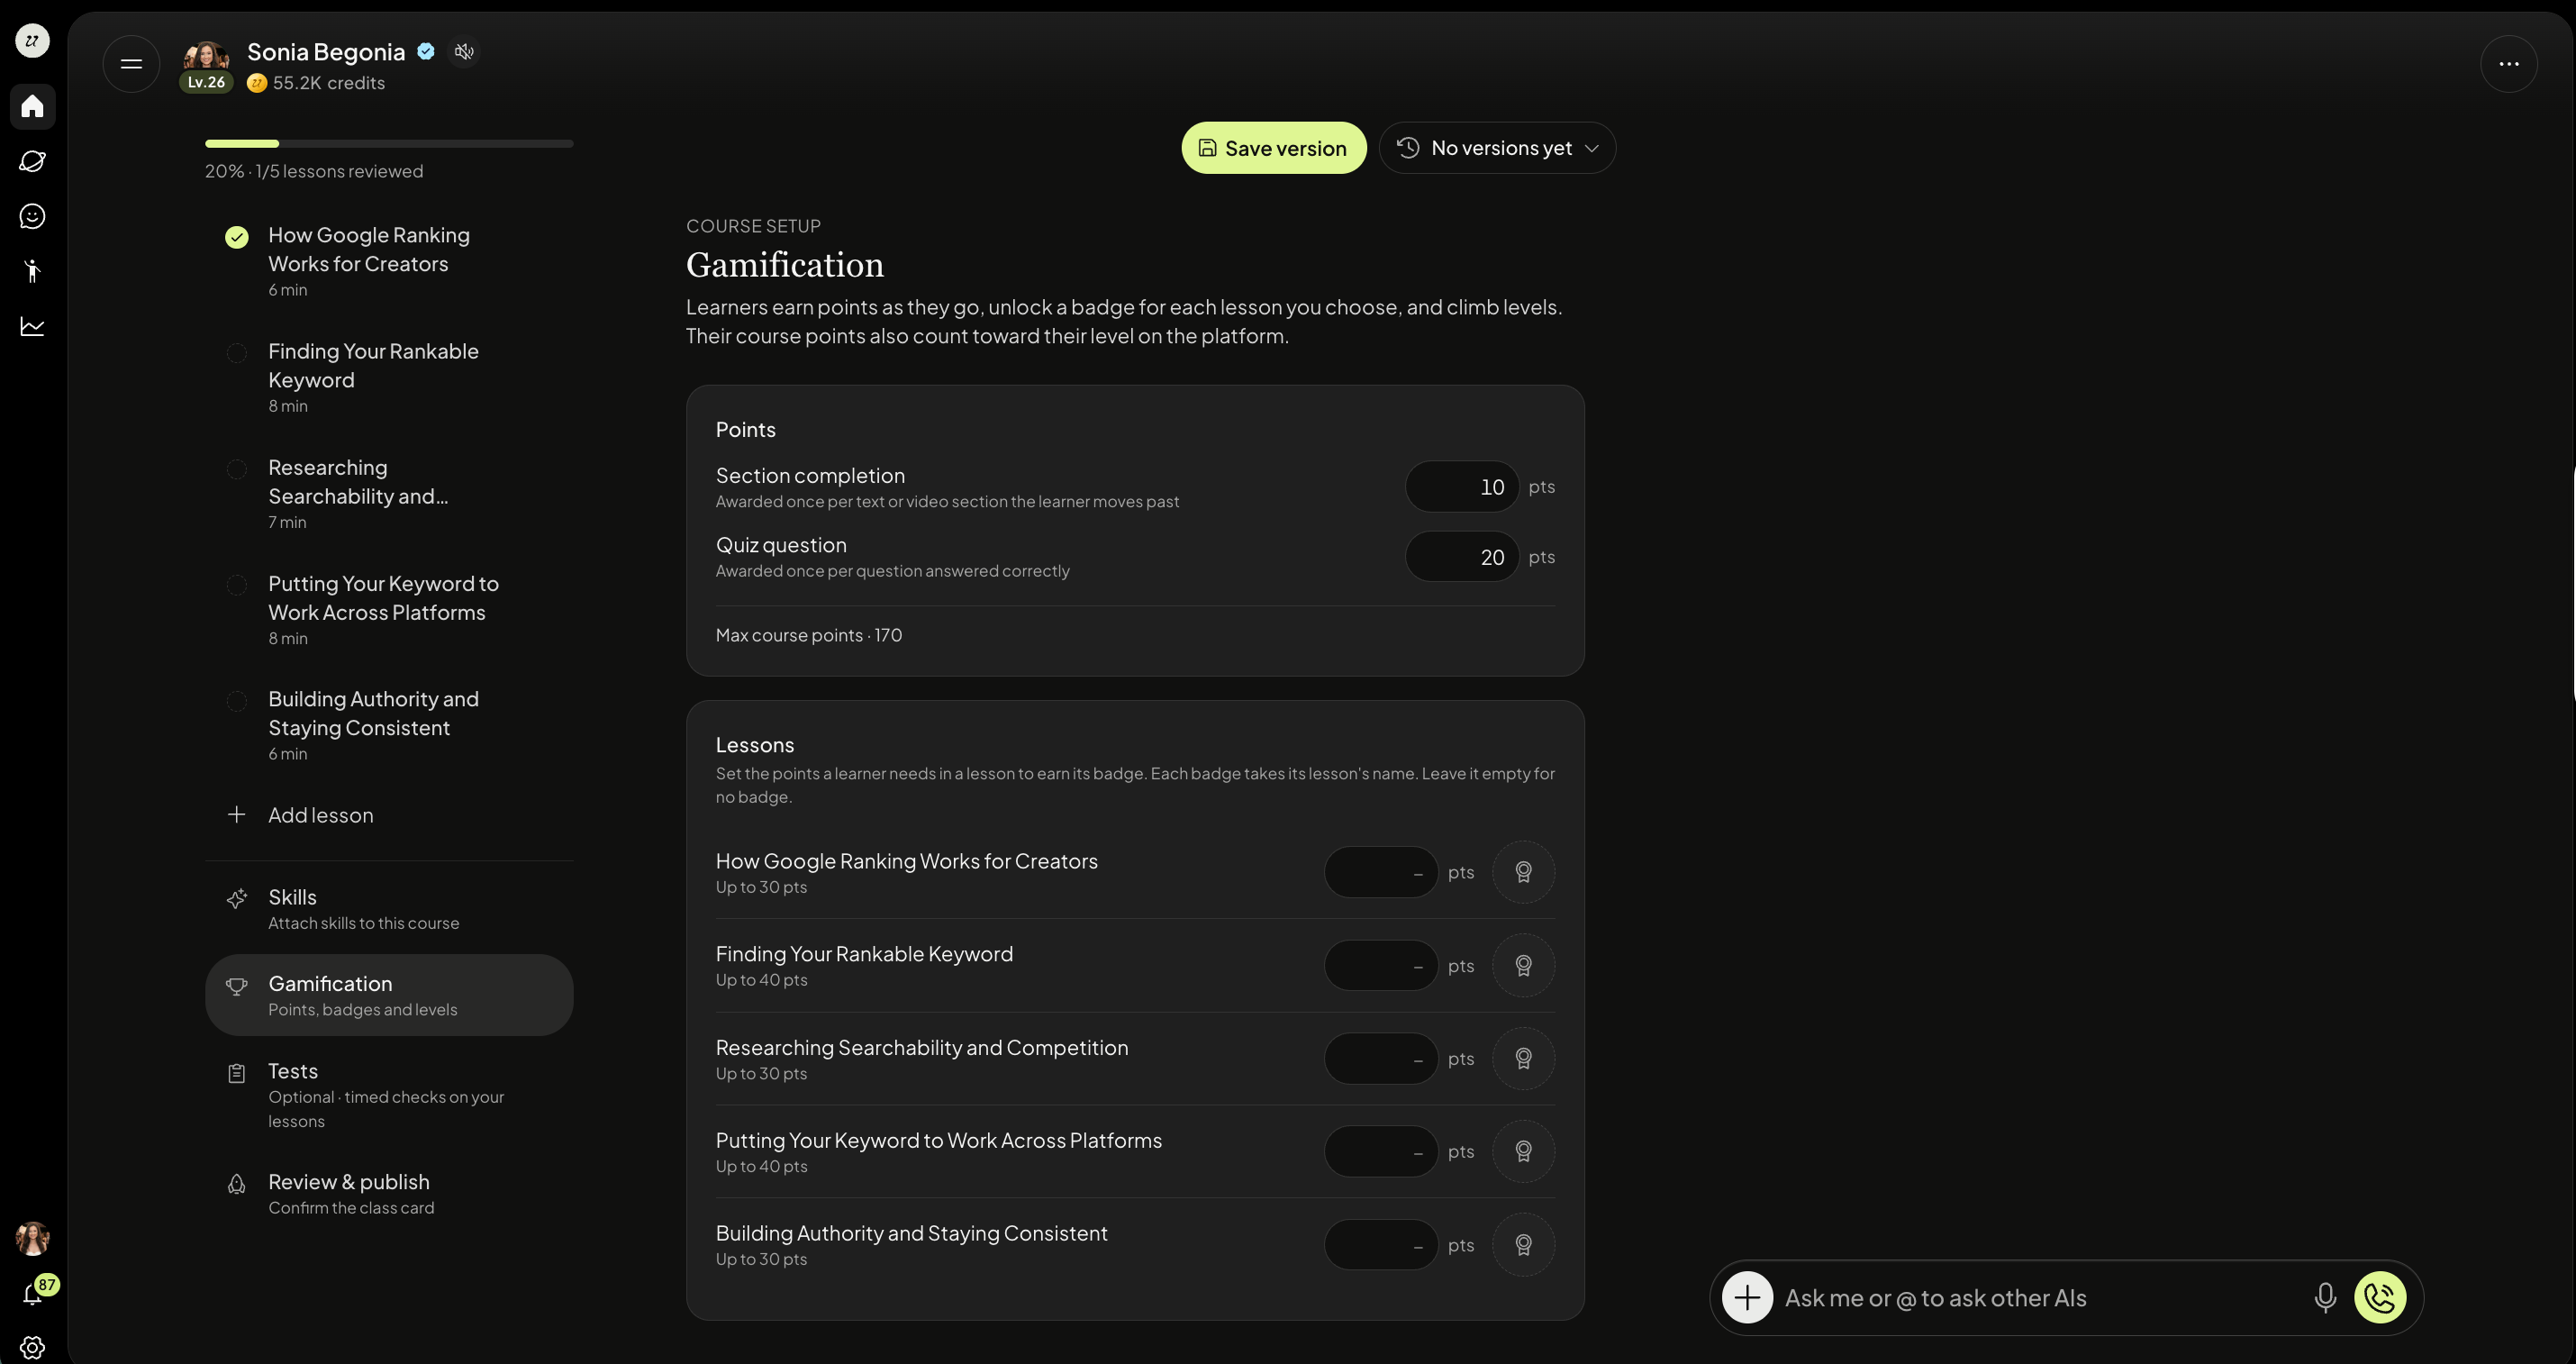
Gamification
You can customize different rewards in points for each lesson and quiz.
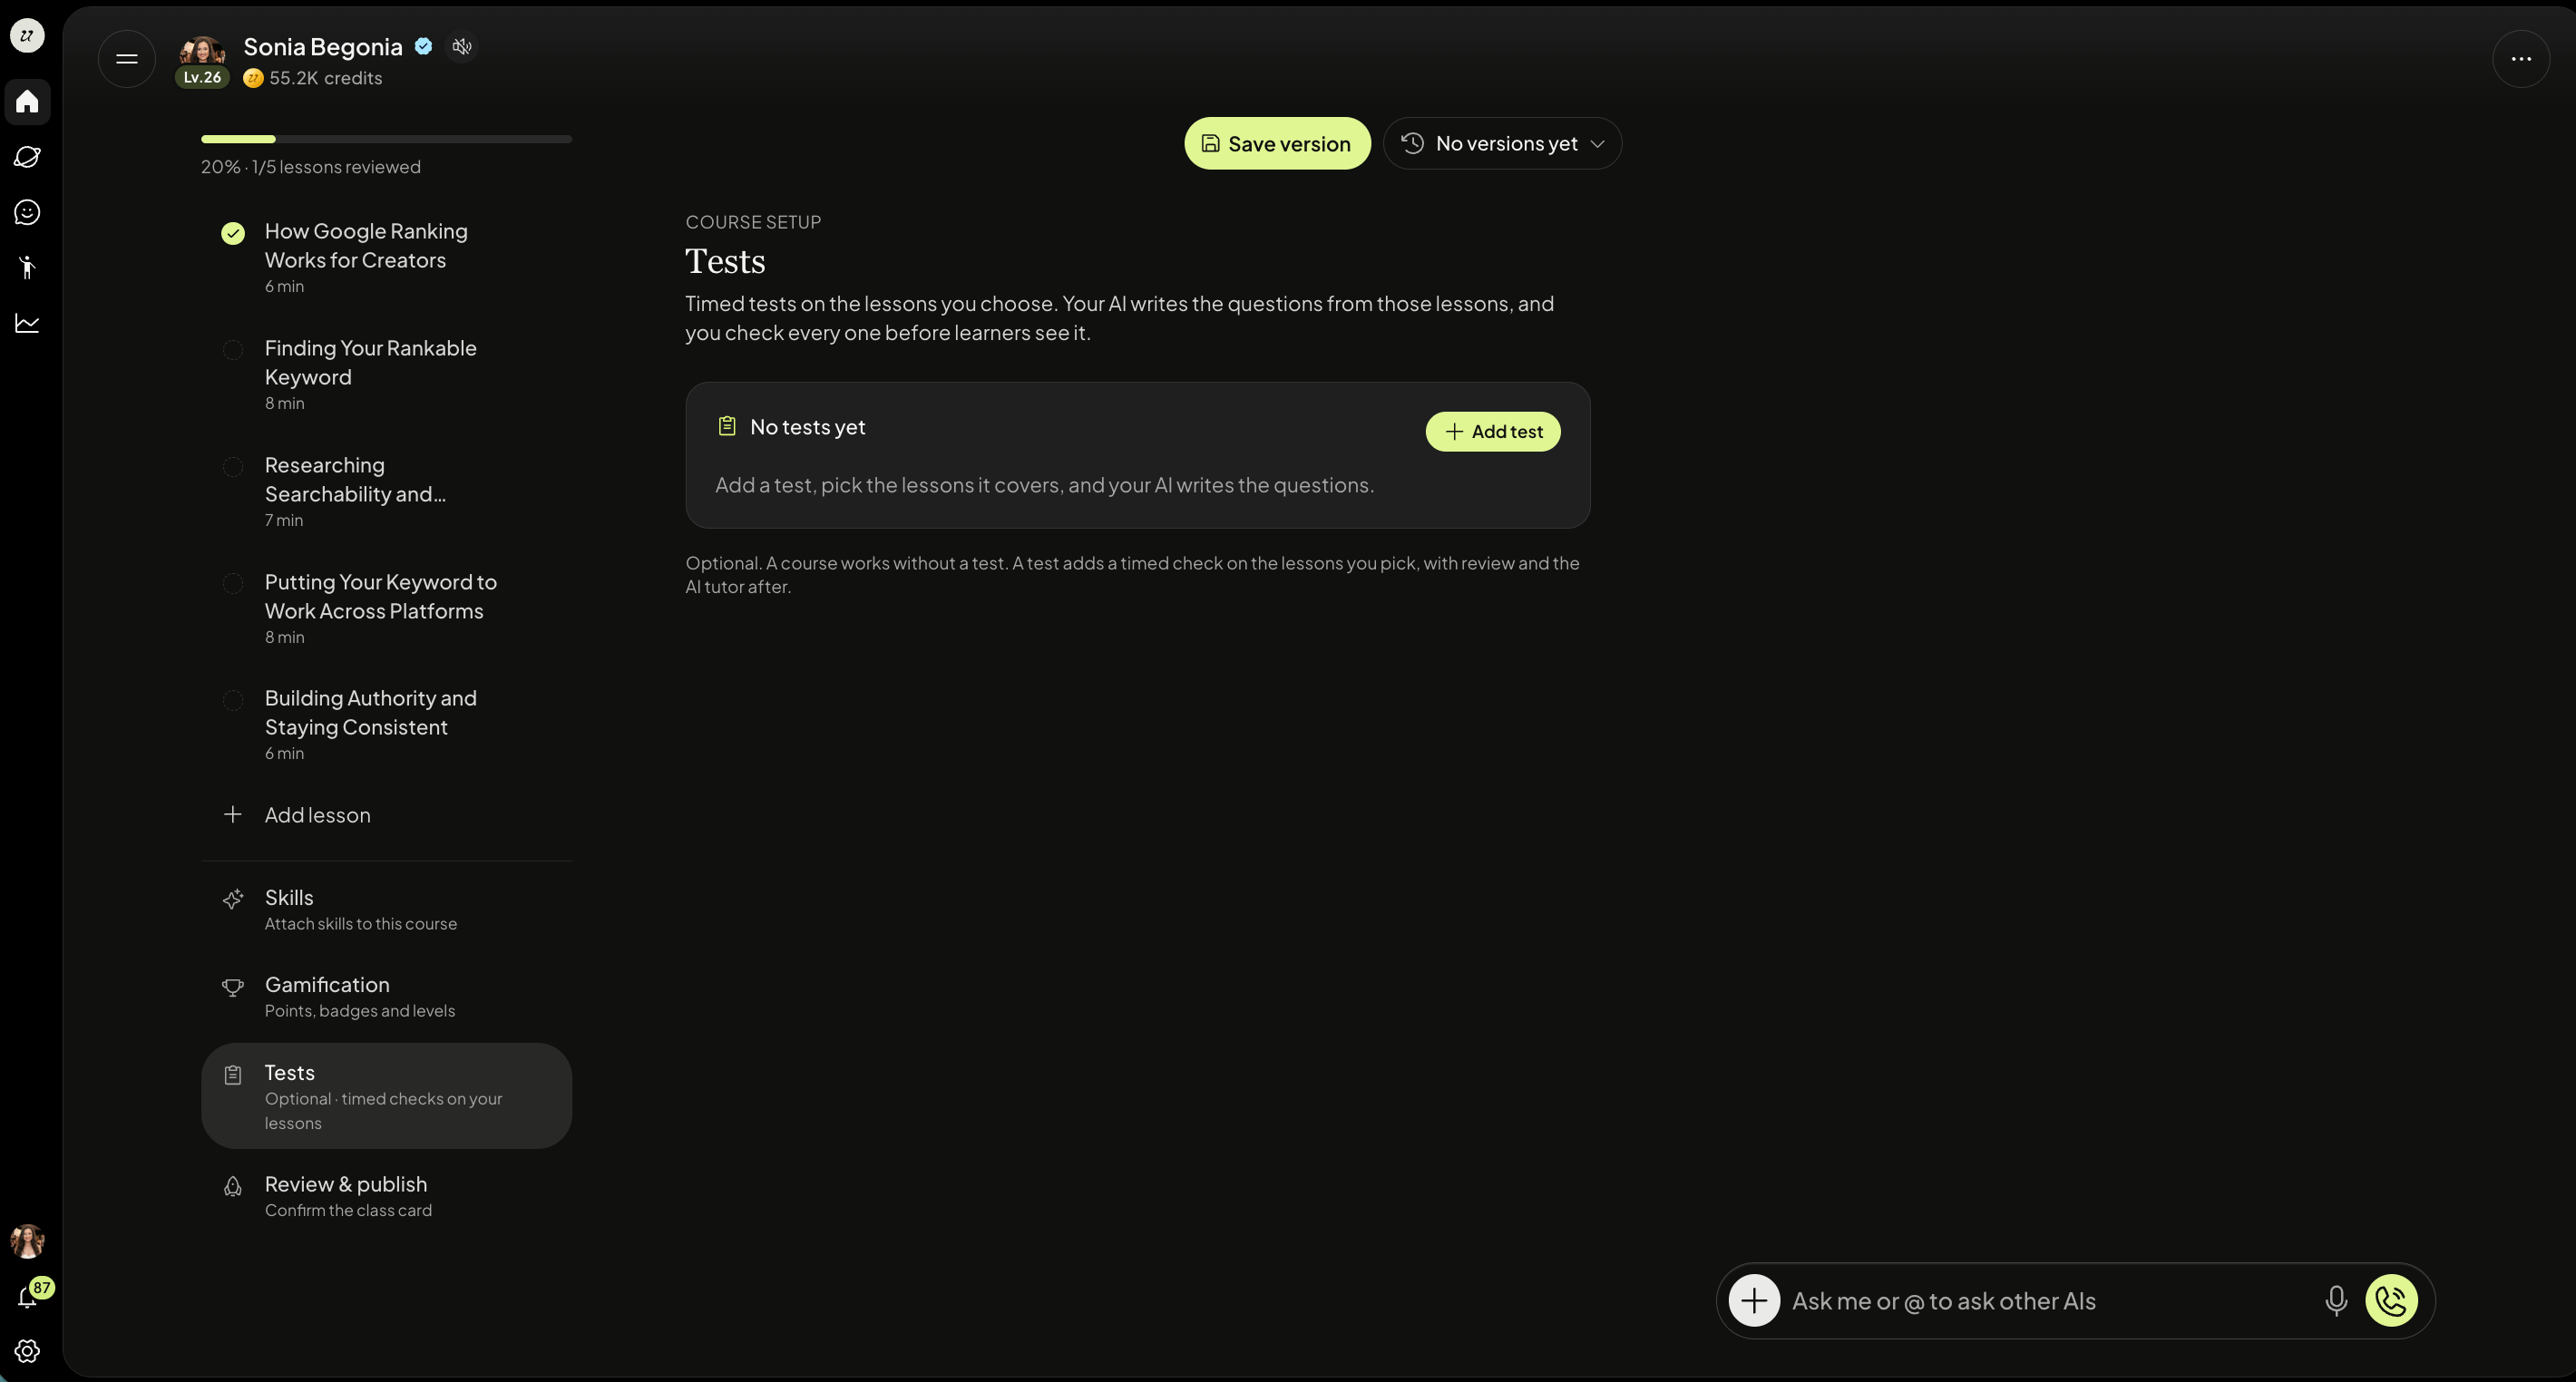
Tests
You can create Tests that are separate from a Lesson’s quizzes.
Add a Live Whiteboard section
Live Whiteboard turns a video of up to 10 minutes into a lesson drawn on a board as it plays, either hand-drawn or in 3D. Learners can talk to the teacher, who edits the board as they go. 3D boards can be turned and explored.
Quiz question options
Images, video and tables: attach them to a question in the builder. The course AI understands the numbers in a table.
Coordinate graphs: plot points or lines across all four quadrants. You can add and edit graphs from chat.
Image answers: an answer choice can be an image. Each image answer needs a short description before the course can go live.
Fill-in-the-blank: learners type their answer and it is graded automatically. Each blank has its own list of accepted answers.
Analog clock: show a clock in a question. The course AI can set the time.
Add captions and transcripts to course videos
Add captions and a transcript to any course video, or bulk-import a folder of transcripts. Captions are kept when you edit the video and removed if you replace it. Course videos over 16 MB upload in pieces, so large files don't fail on a slow connection.
Lock lessons in order
If lessons are set to open in order, each one stays locked until the one before it is finished.
Build tests
Import a test from a PDF. Pictures, underlines and line numbers are kept, and answers are matched even when numbering restarts in each section or the key gives words instead of letters.
Add reading passages, written by you or by your AI. Your AI can write English and Reading passages in the style of the PreACT or the ACT; say which when you ask.
Add pictures and tables to test questions, and a review video for each section.
Turn on extra time (time and a half) for learners who need it.
The calculator is on by default for new tests. Learners open it from Tools.
Filter and search a test's questions, or go through them one by one. You can see how many questions are still waiting for you.
Accepting questions is optional. When you publish, you're asked what to do with any you haven't accepted.
Edit or delete tests from the course builder and the course page.
Publish a Course
Before publishing your course, you will see a preview of the class card with a course preview.
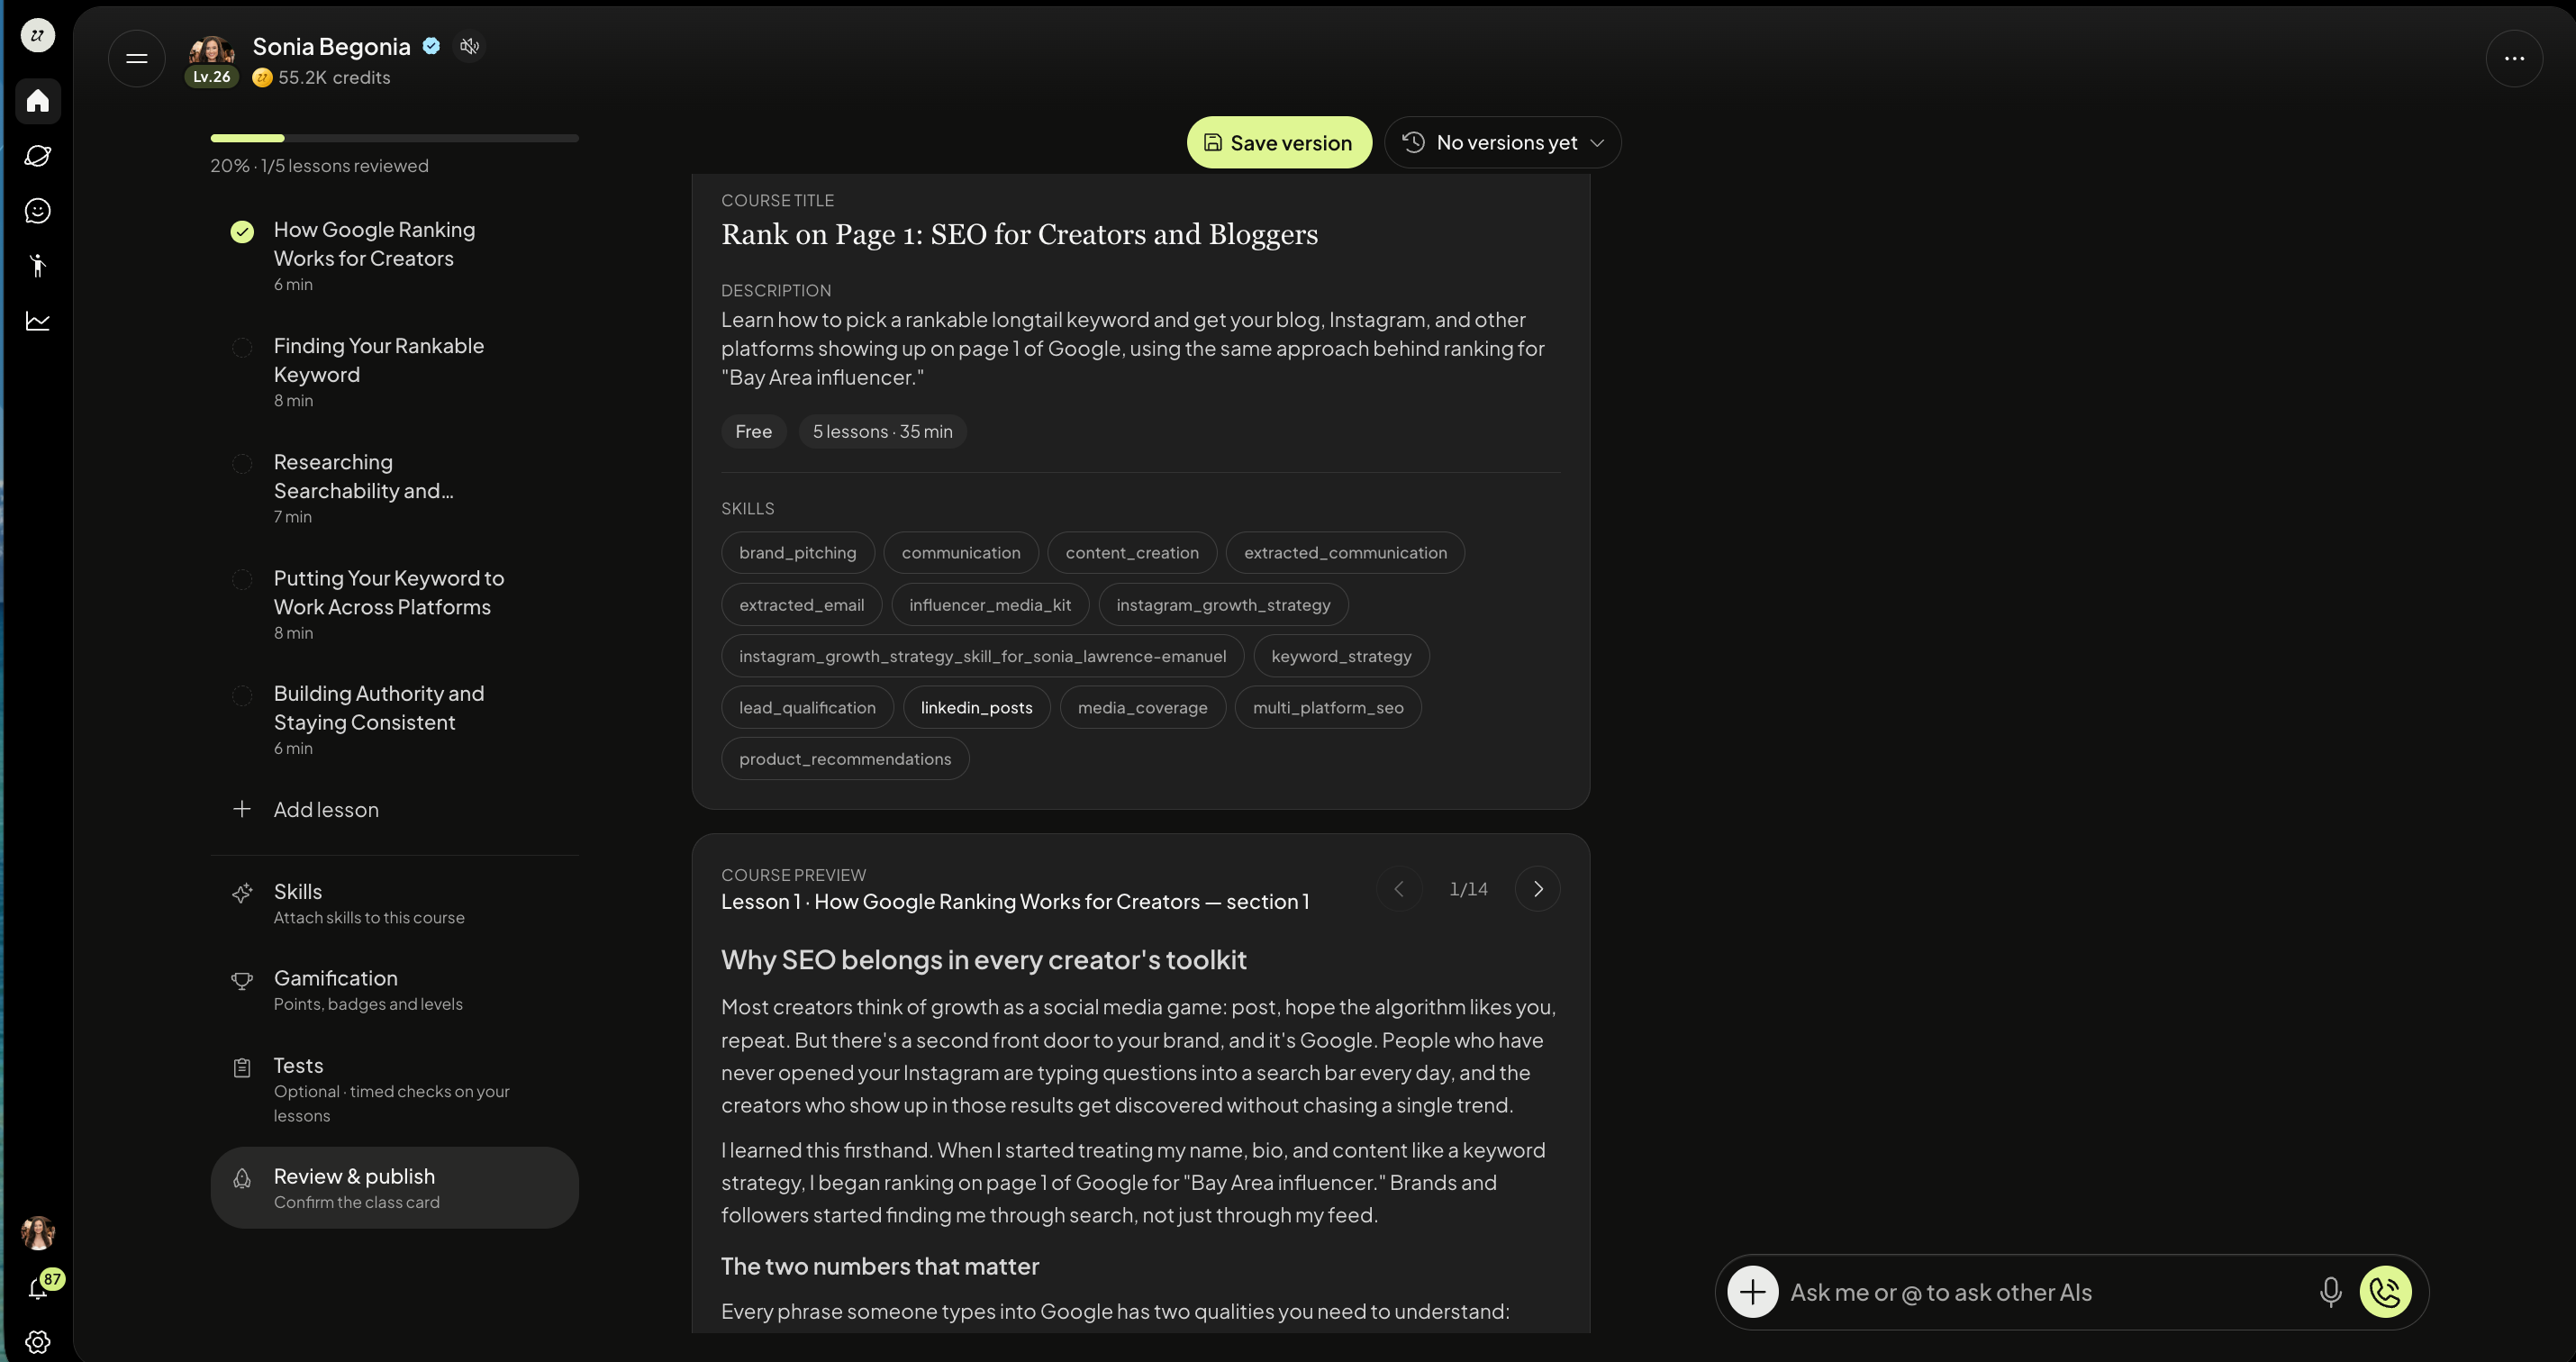
Visibility
The last step is selecting your course visibility.
You can choose from:
Free
Subscriber-only
Private
Draft
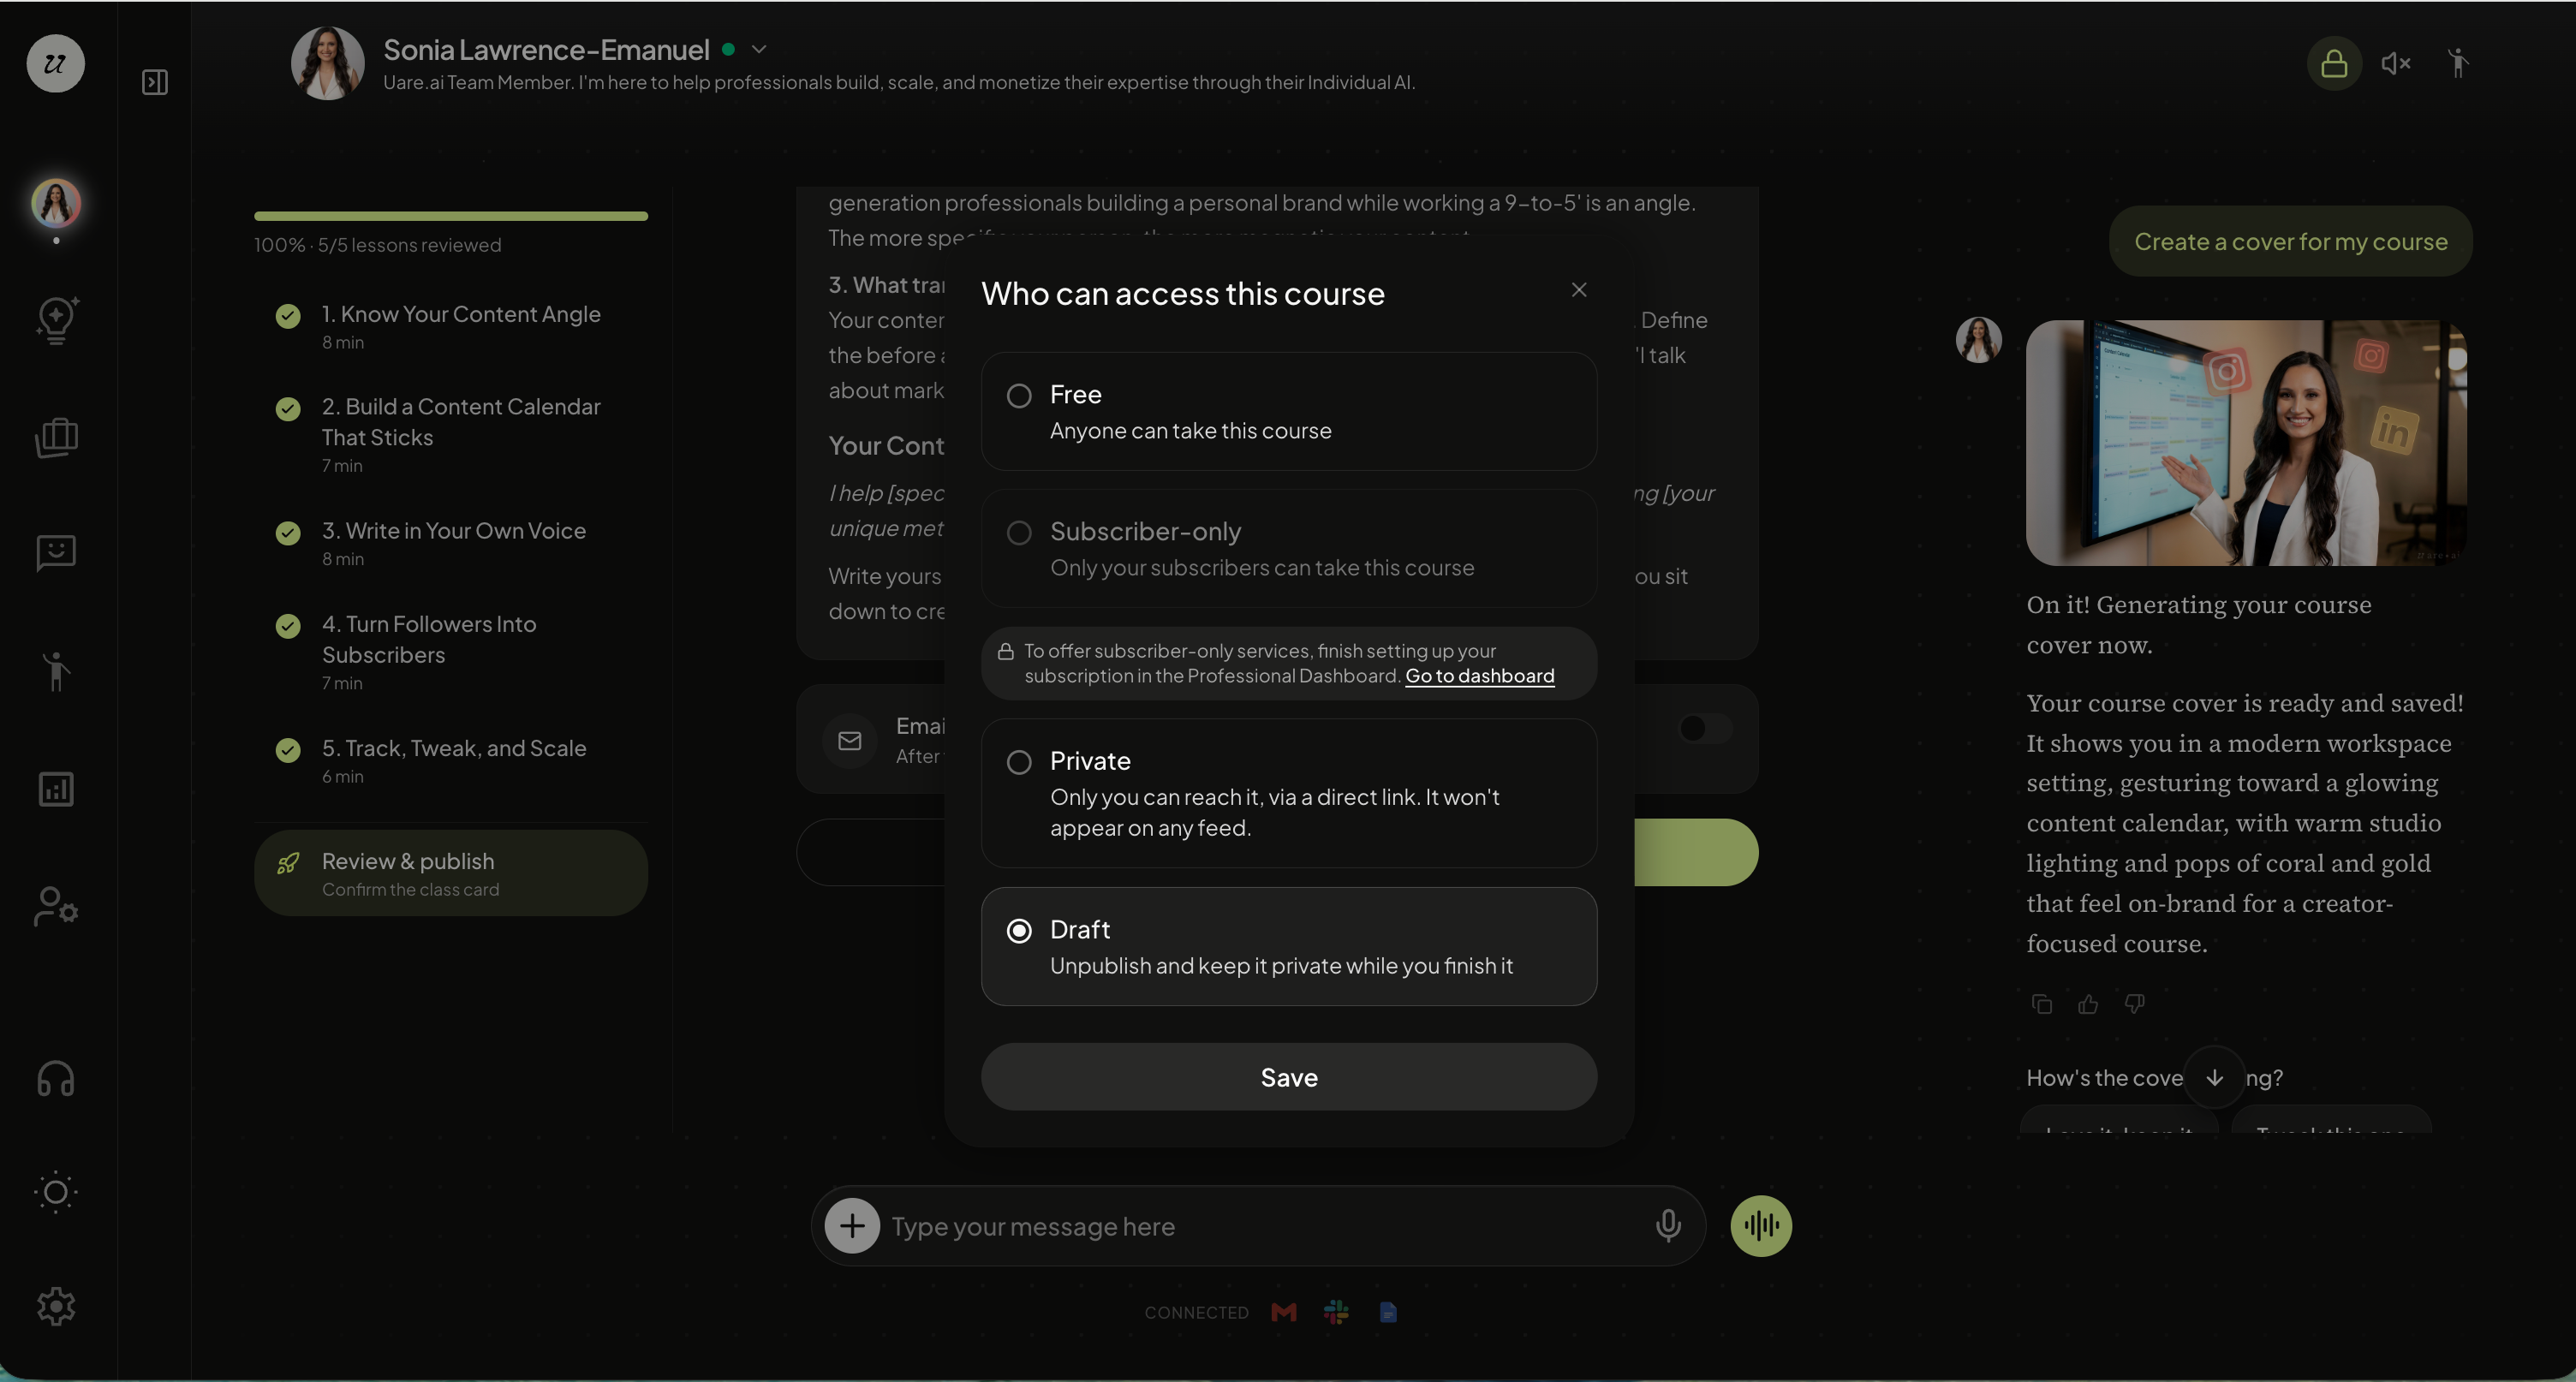
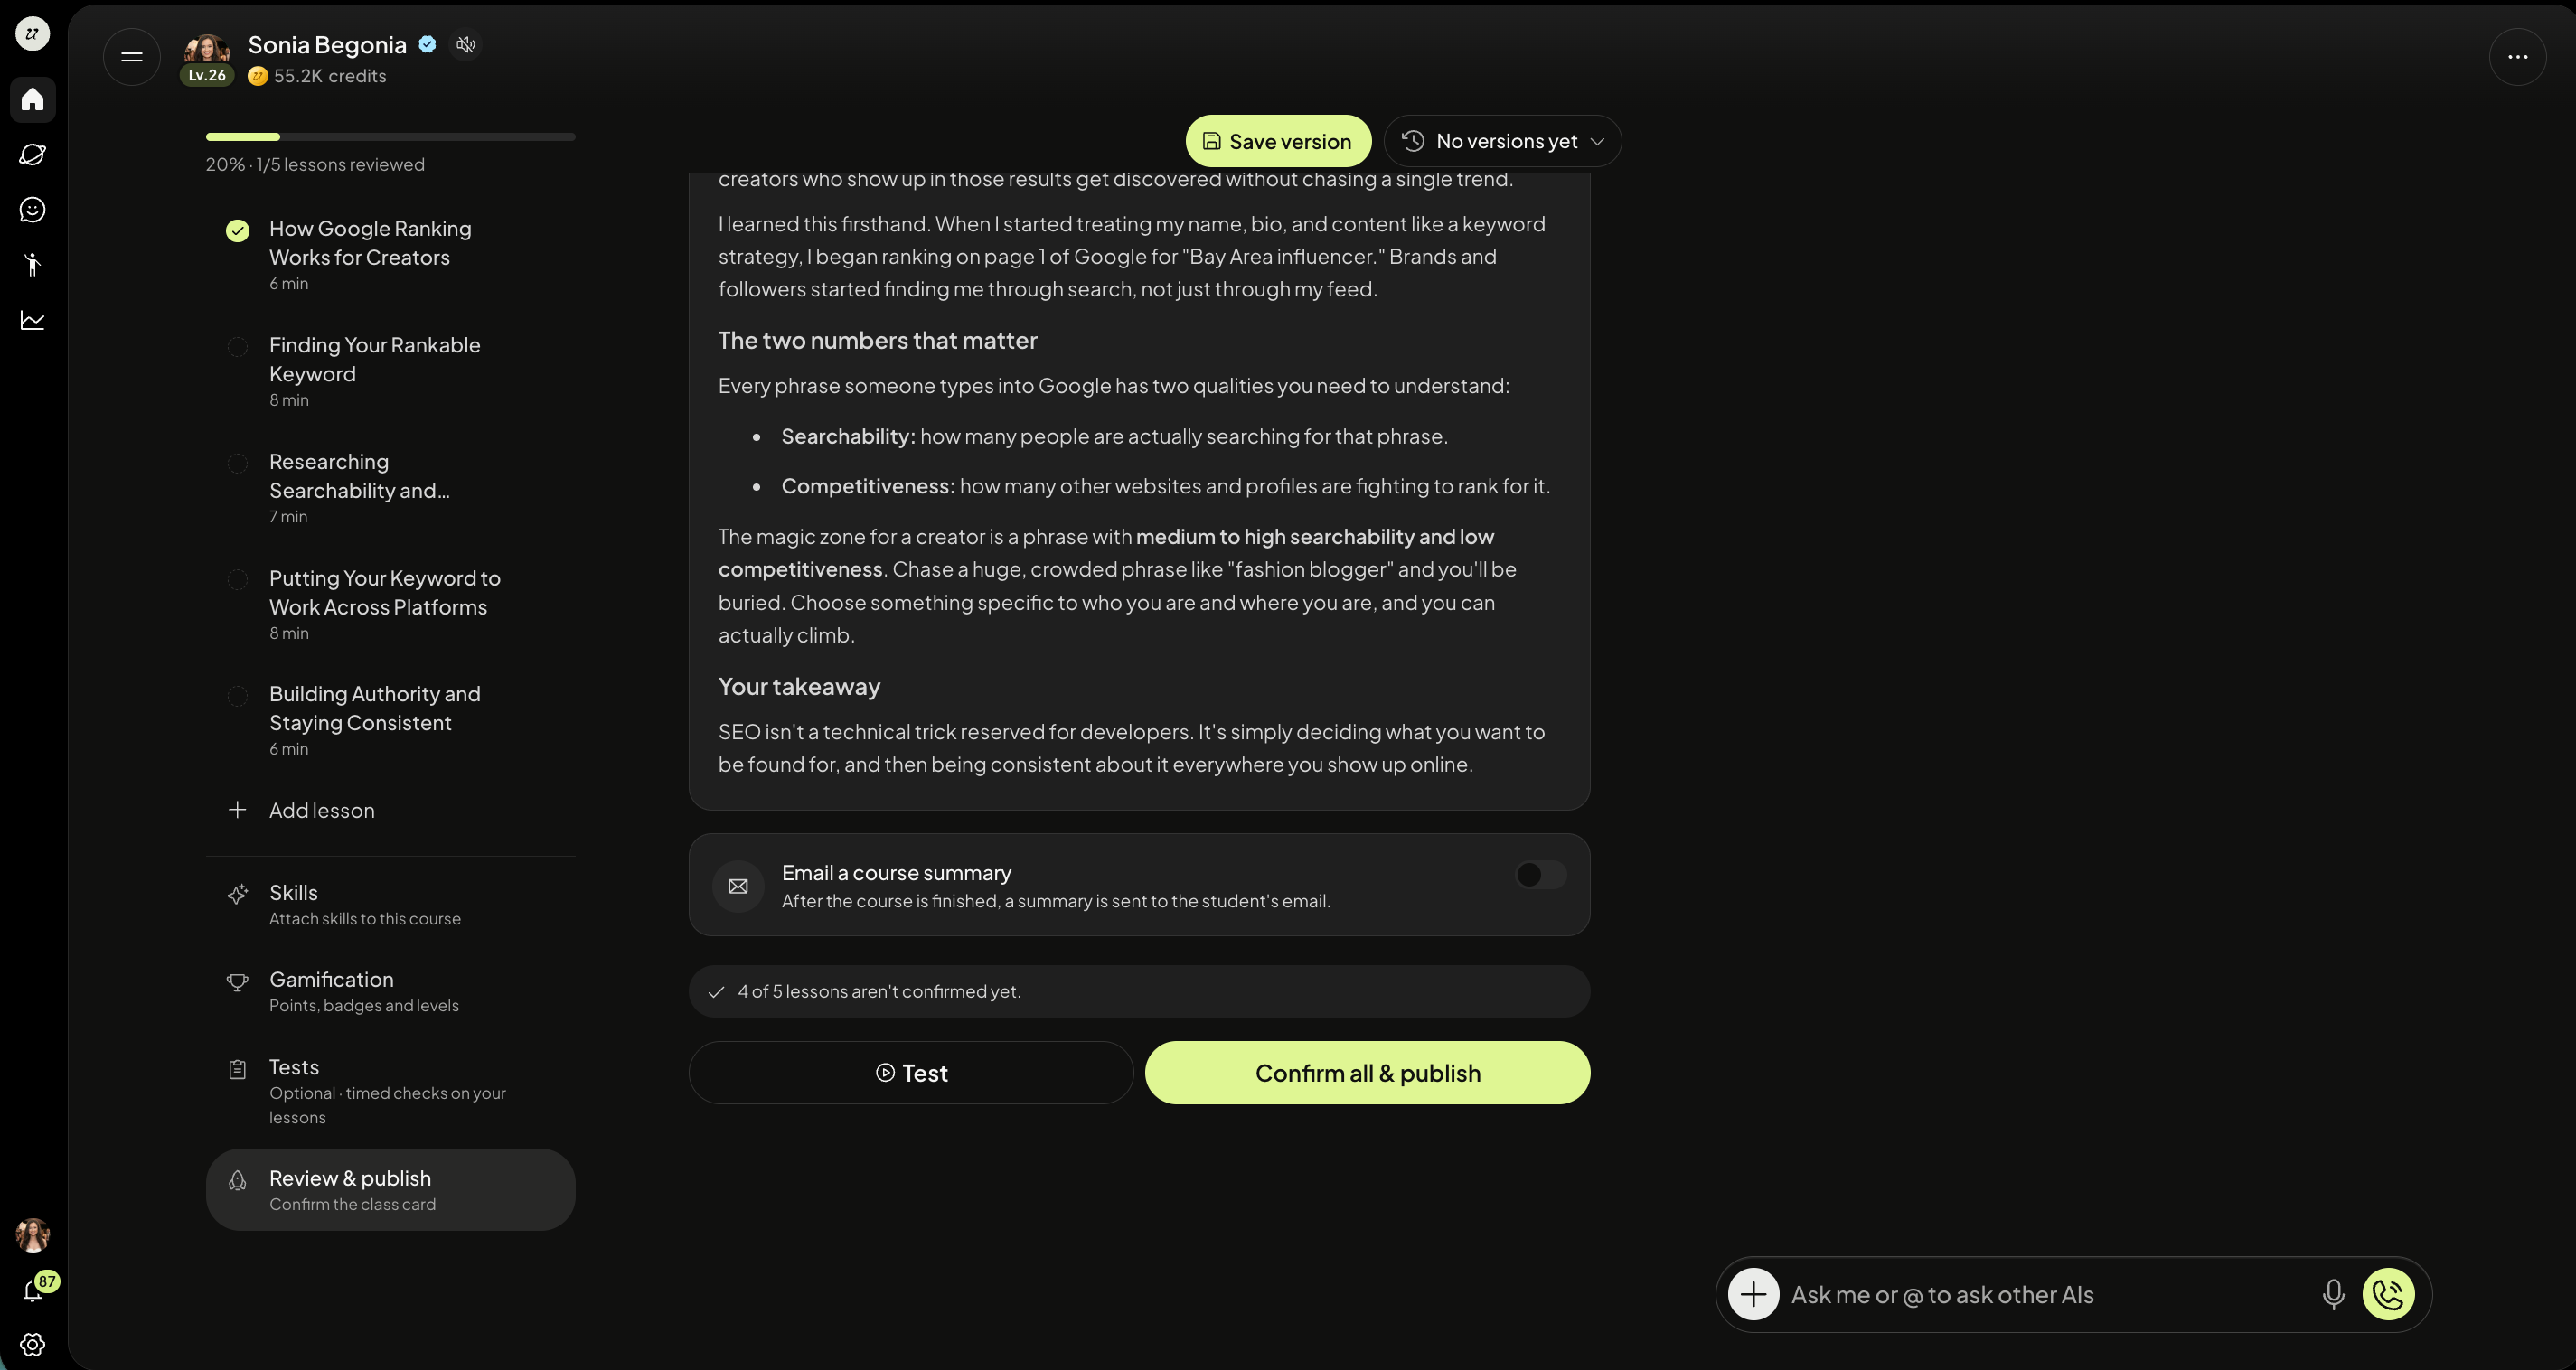
Select Save and Confirm all and Publish when you’re ready.
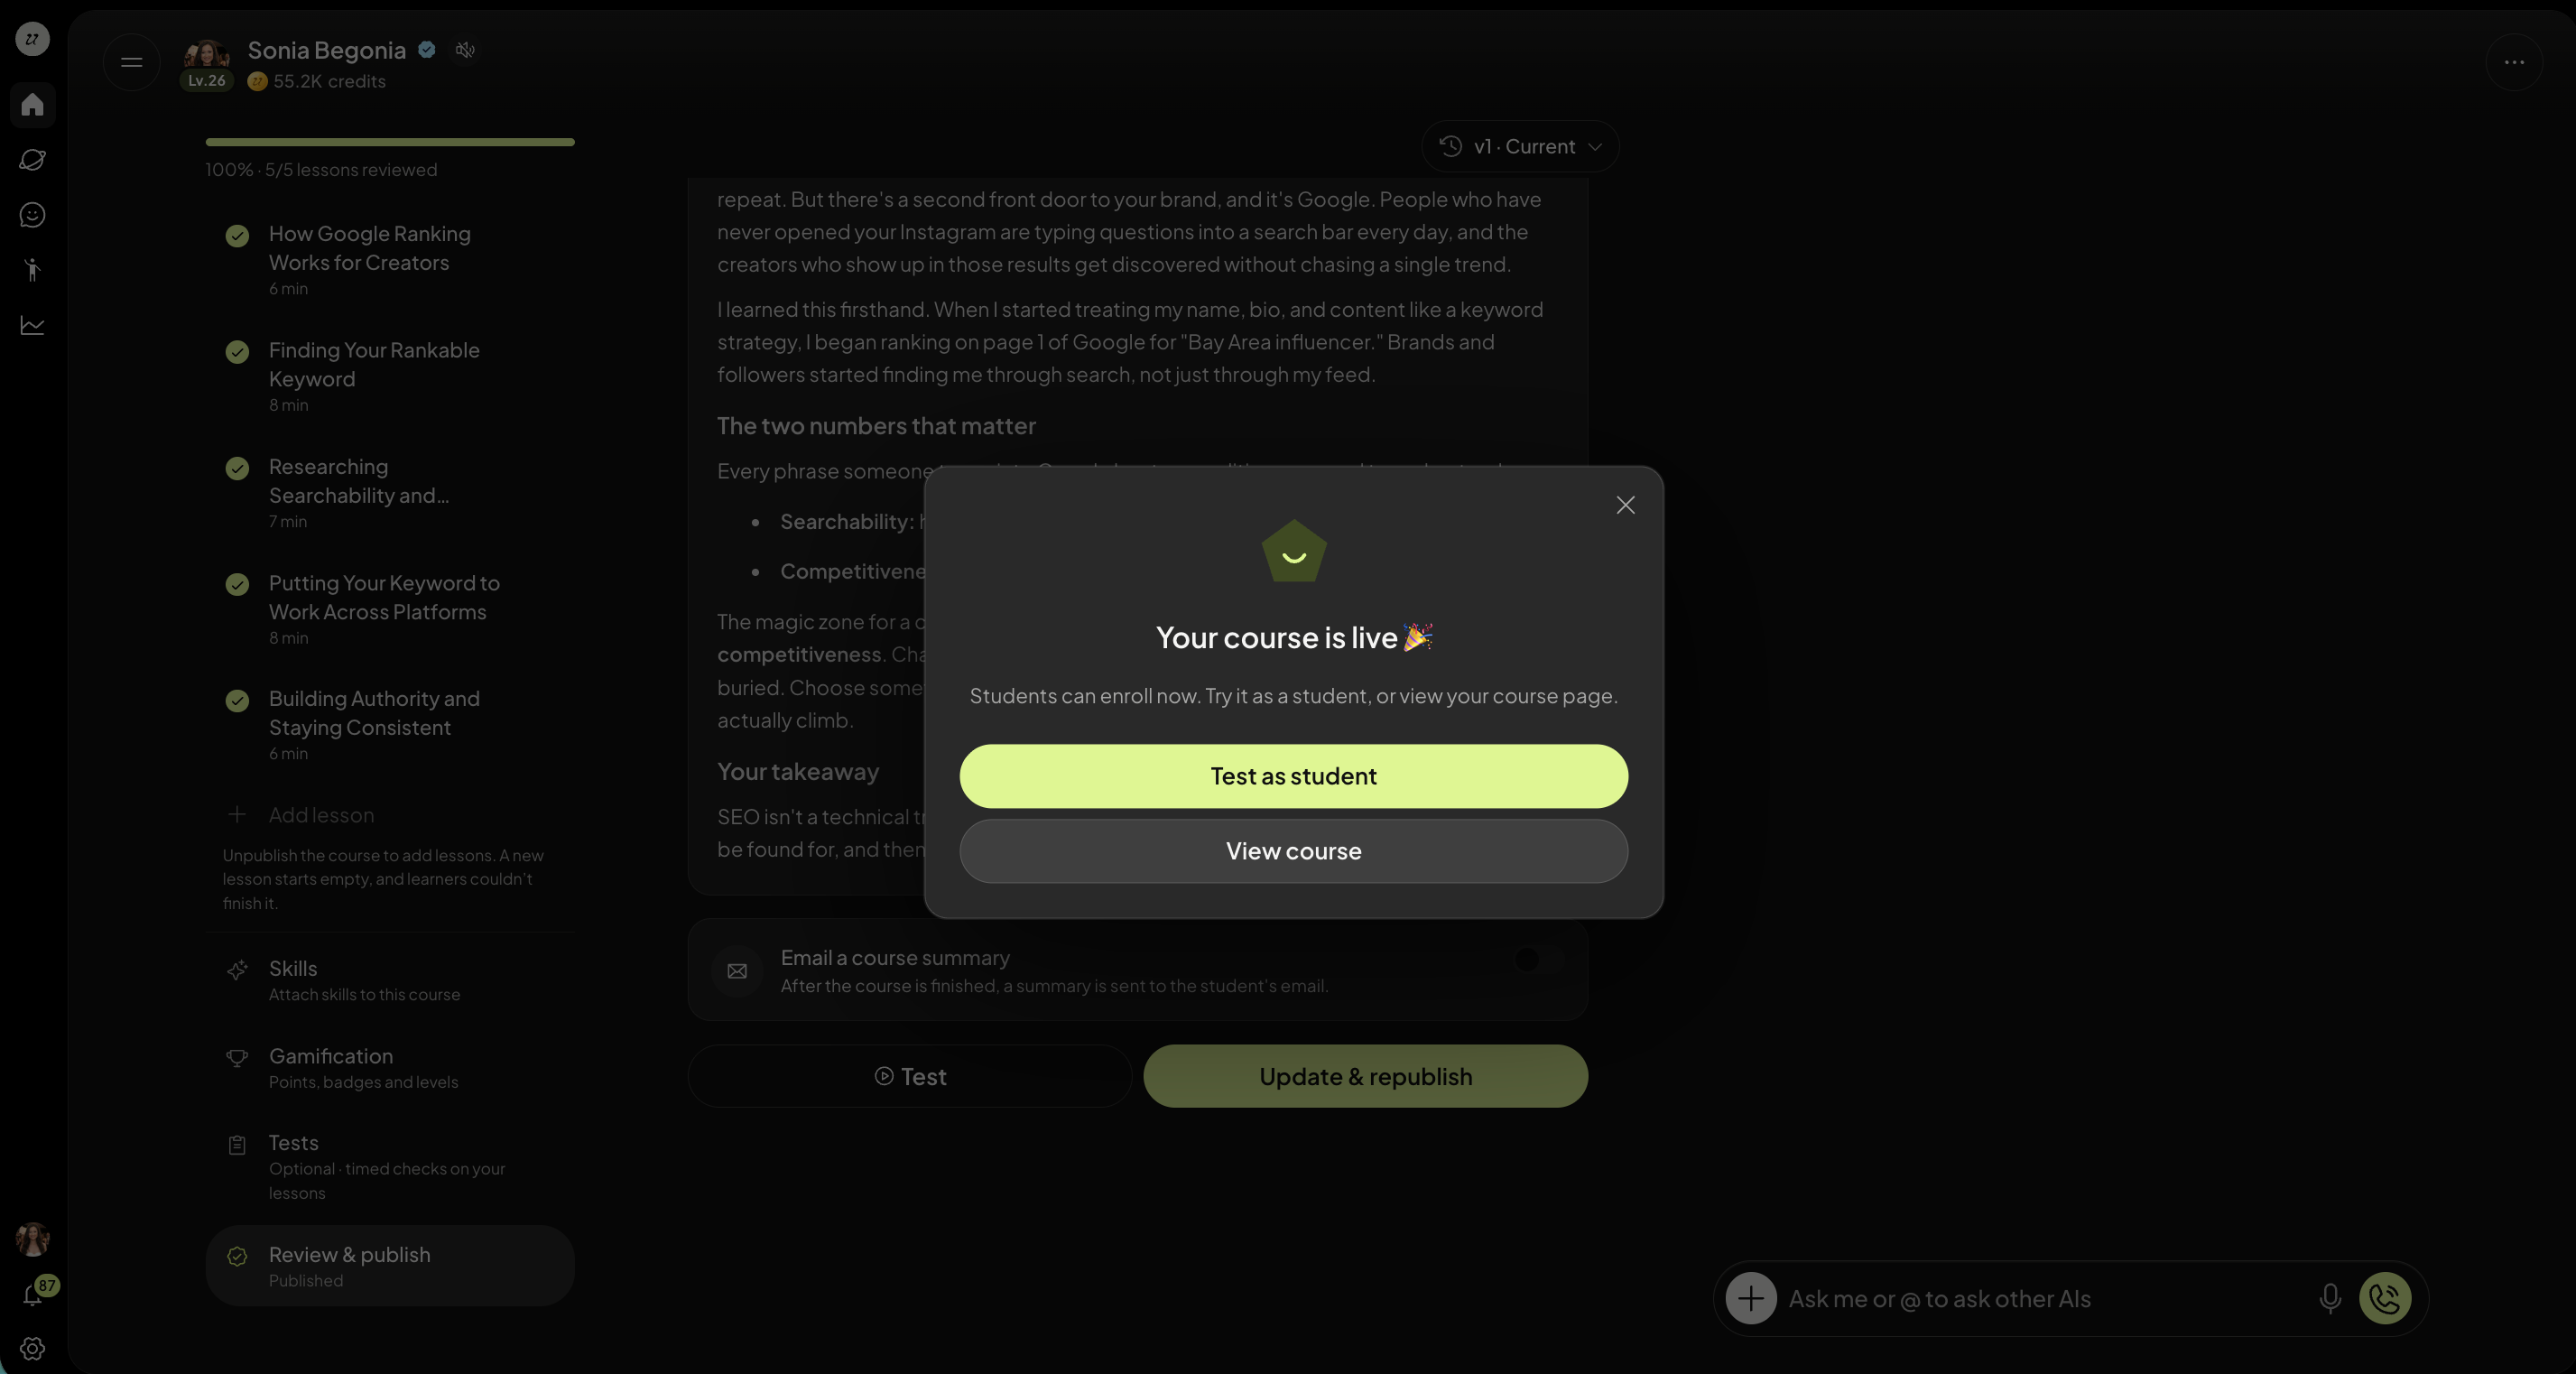
You are able to test your course before publishing.
Was this helpful?
Still need help? Ask the team